Food Sensitivity Test

Introducing Dairy The GAPS ‘dairy introduction structure’ promotes introducing whey first followed by yoghurt and then Kefir. When introducing any of these, we do it methodically by first conducting the ‘food sensitivity test’ first, followed by adding small amounts at a time added to other food to ensure they are well tolerated. This approach is […]

Print Recipe
Food Sensitivity Test
Votes: 2
Rating: 3.5
You:
Rate this recipe!
Servings
Votes: 2
Rating: 3.5
You:
Rate this recipe!

Dairy Introduction Structure

Introducing Dairy The GAPS ‘dairy introduction structure’ promotes introducing whey first followed by yoghurt and then Kefir. When introducing any of these, we do it methodically by first conducting the ‘food sensitivity test’ first, followed by adding small amounts at a time added to other food to ensure they are well tolerated. This approach is […]

Print Recipe
Dairy Introduction Structure
Votes: 0
Rating: 0
You:
Rate this recipe!
Servings
Votes: 0
Rating: 0
You:
Rate this recipe!

Guacamole

Serve ripe avocado daily with every bowl of soup and with meats and fish. Avocados are a great source of vitamins C, E, K, and B-6, as well as riboflavin, niacin, folate, pantothenic acid, magnesium, and potassium. They also provide lutein, beta-carotene, and omega-3 fatty acids. Although most of the calories in an avocado come […]

Print Recipe
Guacamole
This recipe is appropriate from stage three onward
Votes: 0
Rating: 0
You:
Rate this recipe!
Servings
Ingredients
Servings
Ingredients
Votes: 0
Rating: 0
You:
Rate this recipe!
Instructions
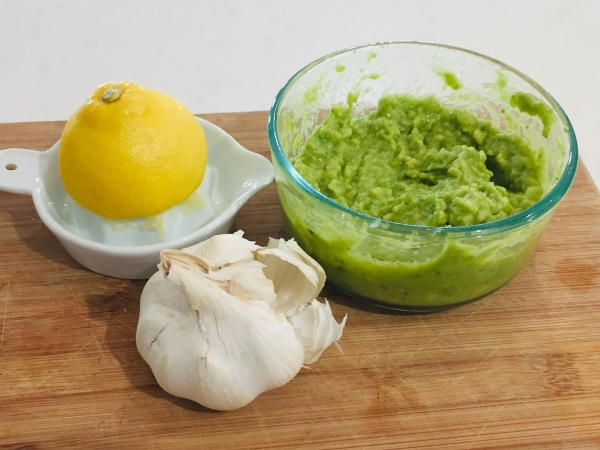
  1. Slice the avocado down the middle and around the seed. Remove the seed and scoop the avocado out of it's skin and place into a small bowl.
  2. Crush the garlic with a garlic crusher and add it to the avocado. You may want to start with a small amount of garlic as raw garlic can have quite a bite, however one of the best foods for the immune system so I like to have at least 4 cloves.
  3. Add the lemon juice and crush all the ingredients together with the back of a fork or use a potato masher. When the texture is smooth to your liking, store in the fridge. The lemon juice will help preserve the colour for a while and it should last a couple of days in the fridge.

GAPS Approved Raising Agents for Baking

The GAPS diet does not allow baking powder or raising agents of any kind apart from pure bicarbonate of soda, otherwise known in USA as baking soda. (Use sparingly for people who have very low stomach acid). Egg whites (albumen) are especially good as a mechanical raising agent and for both soufflé and mousse the […]

Print Recipe
GAPS Approved Raising Agents for Baking
Appropriate for Full GAPS and Stage 6 of the Intro Diet
Votes: 0
Rating: 0
You:
Rate this recipe!
Servings
Votes: 0
Rating: 0
You:
Rate this recipe!
Instructions
  1. Bicarbonate of soda is a pure leavening agent. It needs to be mixed with moisture and an acidic ingredient for the necessary chemical reaction to take place to make food rise. Because it needs an acid to create the rising quality, it is often used in recipes where there is already an acidic ingredient present, such as lemon juice, cocoa, yoghurt or honey. Baking Powder should be avoided as it contains additional non GAPS allowable ingredients.
  2. People who have very low stomach acid may need to avoid Bicarbonate of soda for a while and egg whites may be used for an alternative raising agent. Simply whisk the egg whites into soft fluffy peaks before adding to the mix.

Almond Flour Replacement/Alternatives

Almond flour is commonly used in many of the GAPS baking recipes, however these recipes can be substituted with other flours made from seeds. Almond Flour Replacement/Alternatives • Sunflower seeds ground into flour (remember to soak them first for 12 hours) • Pumpkin seeds ground into flour (remember to soak them first for 12 hours) […]

Print Recipe
Almond Flour Replacement/Alternative
Appropriate for the introduction diet from stage 6 onward
Votes: 0
Rating: 0
You:
Rate this recipe!
Servings
Ingredients
Servings
Ingredients
Votes: 0
Rating: 0
You:
Rate this recipe!
Instructions
  1. Sunflower seeds need to be soaked in order to activate them. Once activated they can be dehydrated to remove the moisture and then ground into a flour in the thermomix or food processor.
  2. Pepitas (also known as pumlin seeds) need to be soaked in order to activate them. Once activated they can be dehydrated to remove the moisture and then ground into a flour in the thermomix or food processor.

How to Blanch Almonds

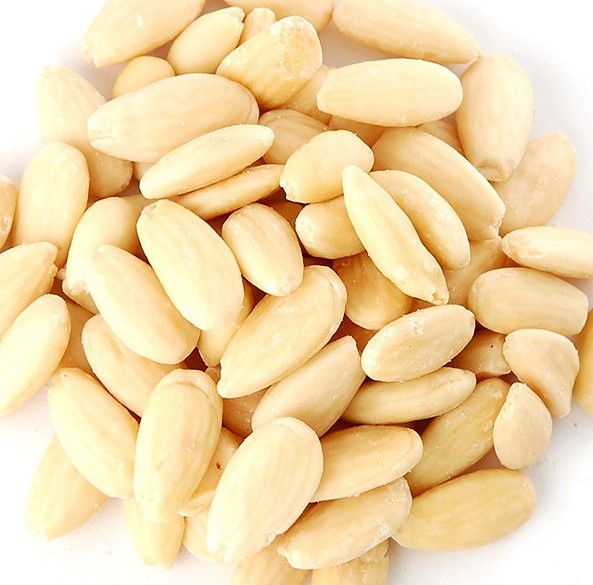
These instructions will teach you how easy it is to blanch your own almonds.  This means removing the husk.  Whilst it is true that it requires more work, blanching almonds can be easier on the digestive system for severe food sensitivities than simple soaking, however blanching almonds may not be required for everyone. It is […]

Print Recipe
How to Blanch Almonds
Votes: 0
Rating: 0
You:
Rate this recipe!
Prep Time 25 Minutes
Passive Time 1 Hour
Servings
Kg
Ingredients
Prep Time 25 Minutes
Passive Time 1 Hour
Servings
Kg
Ingredients
Votes: 0
Rating: 0
You:
Rate this recipe!
Instructions
  1. Bring a small pot of filtered water to the boil
  2. Place your raw almonds into the boiling water and let sit for half an hour. They will swell and appear larger.
  3. Drain the almonds in a colander or strainer and rinse them with cold water to cool them
  4. Blot the almonds dry with a tea towel
  5. Use your fingers to gently squeeze the almonds and loosen the skin from them. They usually just slip right out.
  6. Dry nuts as per activated nut instructions
  7. Store in an airtight container in the fridge
Recipe Notes

Whilst it is true that it requires more work, blanching almonds can be easier on the digestive system for severe food sensitivities than simple soaking, however blanching almonds may not be required for everyone.  It is a preferred method for making almond milk for those who are more prone to food sensitivities as this will completely remove the phytates.  Removing the husks on almonds also make for a nicer homemade almond milk.  It is very unlikely that commercial nut milk producers will have taken the time to activate their nuts or remove the husks, not to mention any additives and preservatives within the product ingredients.

Activating Nuts/Seeds for Flour

What are Activated Nuts? Activated nuts have been soaked in water and salt for a period of time, which starts off the germination or sprouting process, then dehydrated at a low temperature. Soaking increases the nutrient value of the nuts along with breaking down the problematic compounds that help enhance their digestibility. Nuts and Seeds […]

Print Recipe
Activating Nuts/Seeds for Flour
This recipe is appropriate from Stage 6 on the Introductions Diet
Votes: 0
Rating: 0
You:
Rate this recipe!
Prep Time 2-12 hrs
Servings
Ingredients
Prep Time 2-12 hrs
Servings
Ingredients
Votes: 0
Rating: 0
You:
Rate this recipe!
Instructions
  1. In a large bowl place your nuts or seed of choice.
  2. Dissolve salt in enough water to cover the amount of nuts/seeds you are activating.
  3. Cover with the salt water solution.
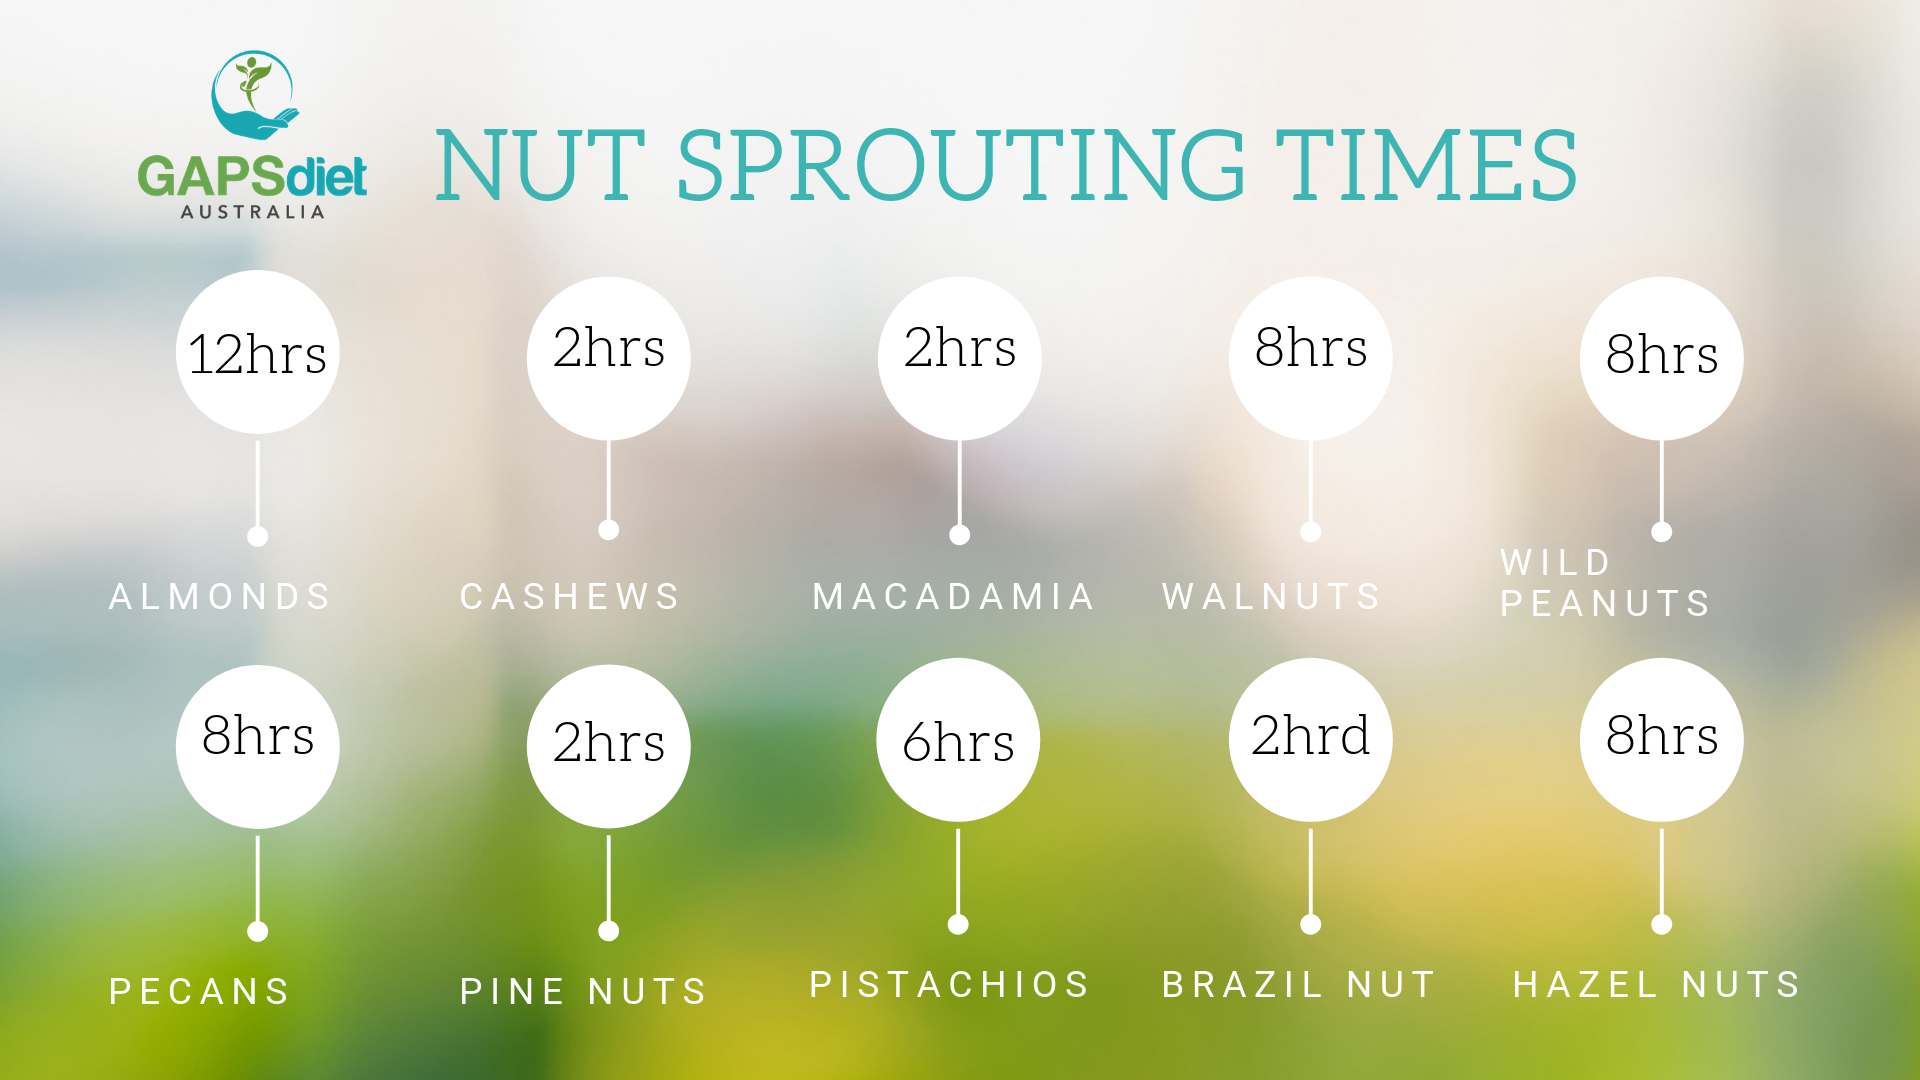
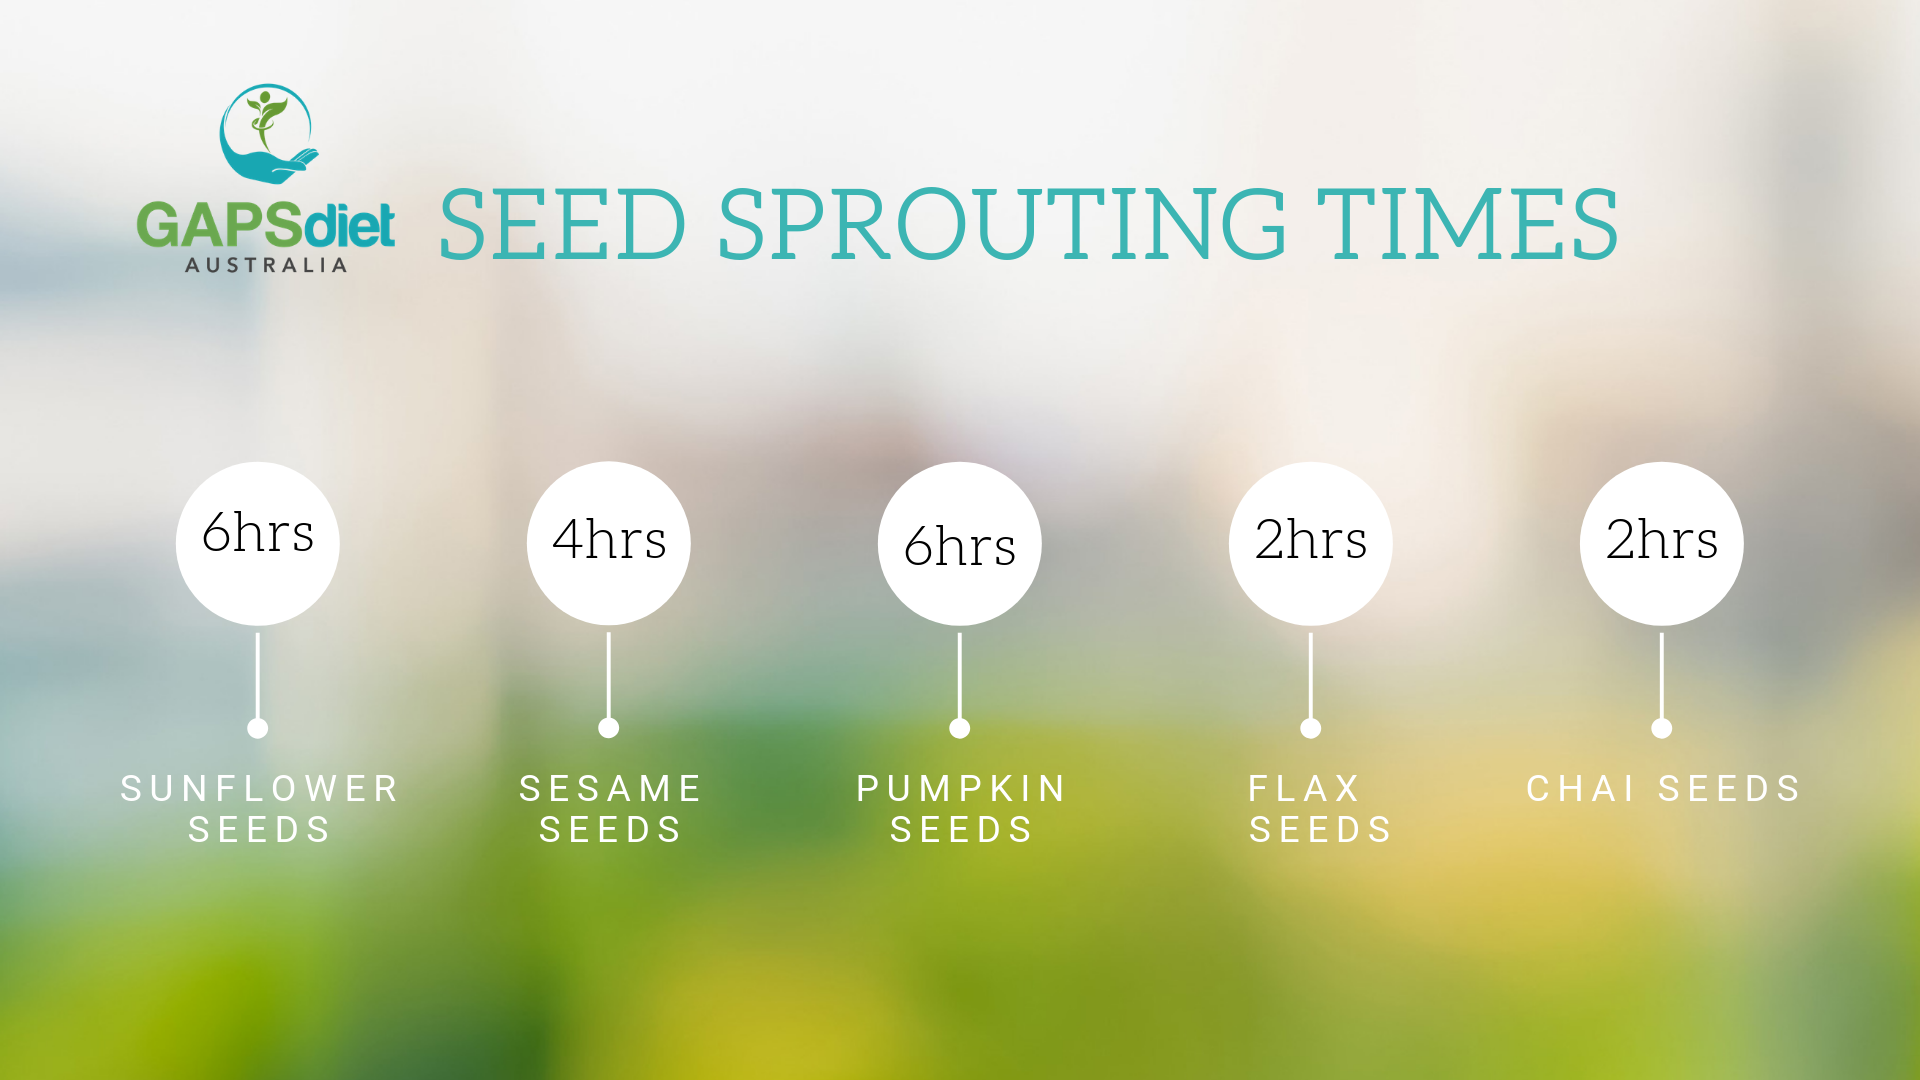
  4. Soak the nuts or seeds for the specified time according to the chart below (see soaking time chart)
  5. Strain and rinse the nuts when the specified time has lapsed.
  6. Spread the nuts or seeds over a dehydrator rack, or baking tray.
  7. Place in the oven on a low heat (90 degrees) or dehydrator until completely dry and the moisture is removed. The dehydrator is a longer drying process but helps to keep activated nuts active. The oven can stop the germination process, however it will get the job done in drying the nuts and seeds after they enzyme inhibitors have been removed.
  8. Eat the activated nuts as they are or make flour from them by grinding the nuts in a strong blender like a vitamix or thermo until you have a flour like consistency.
  9. Store nuts, seeds or nut flours in an air tight container.
Recipe Notes

Clinical Notes

Try fermenting nut/seed flour or nut/seed milk if nuts and seeds continue to be a bit of a problem.

Nut Butter

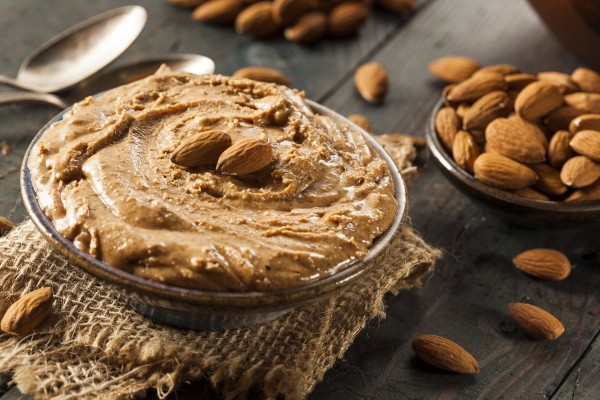
The GAPS Diet advocates you make your own nut butters especially if you are just starting out with GAPS.  This way you know exactly what is in it and whether any reactions are specific to the nuts or other hidden ingredients or chemicals.  Store bought nut butter is acceptable so long as it does not […]

Print Recipe
Nut Butter
This recipe is appropriate for the Introduction Diet from Stage 3 onward
Votes: 1
Rating: 5
You:
Rate this recipe!
Prep Time 20 Minutes
Servings
Jar
Ingredients
Prep Time 20 Minutes
Servings
Jar
Ingredients
Votes: 1
Rating: 5
You:
Rate this recipe!
Instructions
  1. Soak and dry nuts as per our recipe provided in the recipe section under condiments
  2. Blanch nuts if required (see almond blanching recipe instructions) This is not usually necessary if the nuts have been soaked but this step can be helpful for extreme sensitivities.
  3. Using a good strong blender, vitamix or thermo mixer, blend nuts and salt for as long as it takes to break down the size of the nuts into a nut butter consistency whilst gradually adding the coconut oil sparingly to begin with and proceed to add additional oil to produce the smooth consistency desired. This can take up to 20 minutes.
  4. If the nuts have been roasted, you may not need any oil or very little. Children love honey added to this spread but this is dependent upon whether you are ready to introduce honey at this stage and whether you are trying to avoid yeast feeding sugars.
  5. Remember: preparing your nuts through drying and soaking first will allow for a better nut butter and easier digestion.
Recipe Notes

Clinical Notes

Nuts and Seeds are fibrous and should not be introduced for GAPS patients until digestive symptoms have shown some signs of improvement. The introduction diet provides a slow introduction to nuts by starting with nut butter followed by baking with nut flour and finally nuts for snacks themselves with encouragement to prepare them and chew them well. The sensitivity test is advised to be carried out first for those who suspect a true nut allergy, however there are many people who express their intolerance for nuts during the introduction diet who may need to determine themselves whether to wait until further healing takes place before introducing them.

Nut and Seed Soaking Chart

Print Recipe Nut and Seed Soaking Chart Votes: 0 Rating: 0 You: Rate this recipe! Course Baking at home, Miscellaneous Cuisine Full GAPS Diet, GAPS Baby: Introducing Solids, GAPS Introduction Stages, Stage 6 – onward Servings MetricUS Imperial Ingredients 2-3 Cups Organic Nuts or Seeds1 Tbs Celtic or Himalayan Sea Salt1 Litre Filtered water Course […]

Print Recipe
Nut and Seed Soaking Chart
Votes: 0
Rating: 0
You:
Rate this recipe!
Servings
Votes: 0
Rating: 0
You:
Rate this recipe!
Instructions
  1. Almonds 12 Hours 1 tablespoon salt
  2. Brazil Nuts 2 Hours 1 tablespoon salt
  3. Cashews 2 Hours 1 tablespoon salt
  4. Chia Seeds 2 Hours No salt
  5. Flax Seeds 2 Hours No salt
  6. Hazel Nuts 8 Hours 1 tablespoon salt
  7. Macadamia Nuts 2 Hours 1 tablespoon salt
  8. Pecans 8 Hours 2 teaspoons salt
  9. Pine Nuts 2 Hours 1 tablespoon salt
  10. Pumpkin Seeds 6 Hours 2 tablespoons salt
  11. Sesame Seeds un-hulled 6 Hours 1 tablespoon salt
  12. Sunflower Seeds 4 Hours 2 tablespoons salt
  13. Walnuts 8 Hours 2 teaspoons salt
  14. Wild Peanuts 8 Hours 1 tablespoon salt
  15. See other recipe 'Activating Nuts/Seeds for Flour' for instructions to soak and sprout seeds to make flour.
Recipe Notes

Clinical Notes

Nuts and Seeds are fibrous and should not be introduced for GAPS patients until digestive symptoms have shown some signs of improvement. The introduction diet provides a slow introduction to nuts by starting with nut butter followed by baking with nut flour and finally nuts for snacks themselves with encouragement to prepare them and chew them well. The sensitivity test is advised to be carried out first for those who suspect a true nut allergy, however there are many people who express their intolerance for nuts during the introduction diet who may need to determine themselves whether to wait until further healing takes place before introducing them.

Selecting organic nuts and seeds and preparing them by soaking and sometimes blanching them (skins removed) often makes all the difference for a GAPS patient to better tolerate them.  Many GAPS patients have a toxic overload and cannot tolerate even the smallest amount of chemicals or pesticides in their system and this is why organic serves to be a better option.

In addition to crop chemicals, nuts and seeds contain their own toxic substances known as enzyme inhibitors and phytates (phytic acid).  These toxins can play havoc in the digestive system, blocking nutrients such as calcium, magnesium, copper iron and especially zinc.  Enzyme inhibitors in particular, are contained on the skins or surrounds of nuts and seeds and they are especially apparent in nuts with brown skins like almonds.  Their purpose serves as a protective layer to naturally prevent animals and insects from consuming them so that they have the opportunity to germinate and sprout into a plant. Soaking nuts and seeds in warm salty water overnight will activate enzymes that neutralise enzyme inhibitors and also breakdown a large portion of phytic acid that allow the nutrients to be better absorbed in the digestive system. This soaking preparation process is often referred to as activating nuts and seeds.

Nut Seed Milk

Preparation in making nut milk is important, especially for people who already have digestive problems and food sensitivities. Almonds (as well as most other nuts) contain toxic substances known as enzyme inhibitors and phytates (phytic acid). These toxins can play havoc in the digestive system, blocking nutrients such as calcium, magnesium, copper iron and especially […]

Print Recipe
Nut Seed Milk
This recipe is appropriate for the Introduction diet when nuts have been successfully introduced and tolerated from stage 4 onward.
Votes: 0
Rating: 0
You:
Rate this recipe!
Prep Time 5 Minutes
Passive Time 14 Hours
Servings
People
Ingredients
Prep Time 5 Minutes
Passive Time 14 Hours
Servings
People
Ingredients
Votes: 0
Rating: 0
You:
Rate this recipe!
Instructions
Part 1 - Soaking
  1. Add 3 cups of filtered water to a jug or bowl and mix in 1 tablespoon of salt
  2. Add 1 cup of almonds and cover with a tea towel or cheese cloth
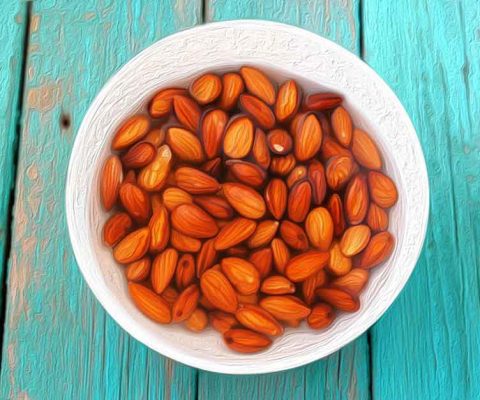
  3. Soak the nuts in the salt water brine for 12 hours
  4. Rinse the nuts under filtered water to remove salt residue and discard the salt water brine
  5. Place the nuts in a clean jug or bowl and add 1 - 2 teaspoons of flaxseeds and 3 – 4 cups of water and place in the fridge for 2 – 3 hours. Adding the flaxseeds will allow the milk to thicken a little more. Exclude this step if you have no concern for thickness
  6. If you wish to add a little sweetener to the milk, this will be the stage that you will need to add the pitted dates to the mixture to soak for a few hours. This is optional
Part 1 - Blending and Straining
  1. Add the soaked nut mixture from the fridge (including the water) to a good strong blender, vitamix or thermo mixer and blend for as long as it takes to break down the size of the nuts into a pulp consistency
  2. Place a nut milk bag or cheesecloth over a bowl and pour the milk mixture through the cheesecloth or nut milk bag like a strainer
  3. When all the pulp and liquid has been strained through the nut milk bag or cheesecloth, squeeze any excess milk from the pulp mixture with your hands, allowing the milk to drain through the cloth. If you find that the milk is too rich, simply add more filtered water
  4. Store in the fridge for 2 – 3 days.
Recipe Notes

Clinical Notes

Why soak nuts and seeds?

  • To neutralize enzyme inhibitors
  • To remove or reduce phytates
  • To encourage the production of beneficial enzymes

Apple Puree

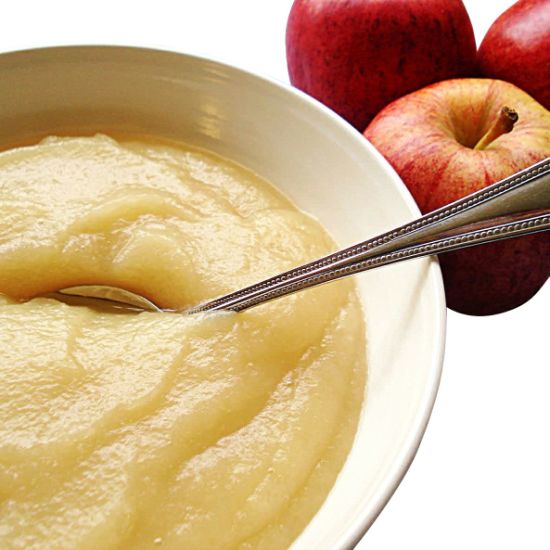
Apple Pure is introduced in the Introduction Diet on stage 5.  Apple Pure for GAPS is an easy way to disguise fats.  GAPS is a high fat diet so we want to add fats to everything and apple puree is a good way to deliver it. We usually add duck fat, ghee or coconut oil.  […]

Print Recipe
Apple Puree
This recipe is appropriate for the GAPS Introduction Diet from stage 5 onward
Votes: 0
Rating: 0
You:
Rate this recipe!
Prep Time 5-10 Minutes
Cook Time 15-20 Minutes
Servings
People
Ingredients
Fruit
Other
Prep Time 5-10 Minutes
Cook Time 15-20 Minutes
Servings
People
Ingredients
Fruit
Other
Votes: 0
Rating: 0
You:
Rate this recipe!
Instructions
  1. Peel and core the ripe apples and slice thinly into your stainless steel cook pot. An apple slinky is great at doing this job.
  2. Add the water and cook the apples on low whilst stirring occasionally. You may place the lid on top to create steam in the cooking process.
  3. When the apples have become soft, take the pan off the stove and mash with a vegetable masher.
  4. Add a couple of tablespoons of ghee or duck fat or coconut fat (depending on what you have introduced) and blend with the apple.
  5. Store the stewed apples in the fridge.
Recipe Notes

Clinical Notes

Start to introduce with a few spoonful’s  a day and gradually increase the amount if there are no reactions.

Fermented Almond Flour

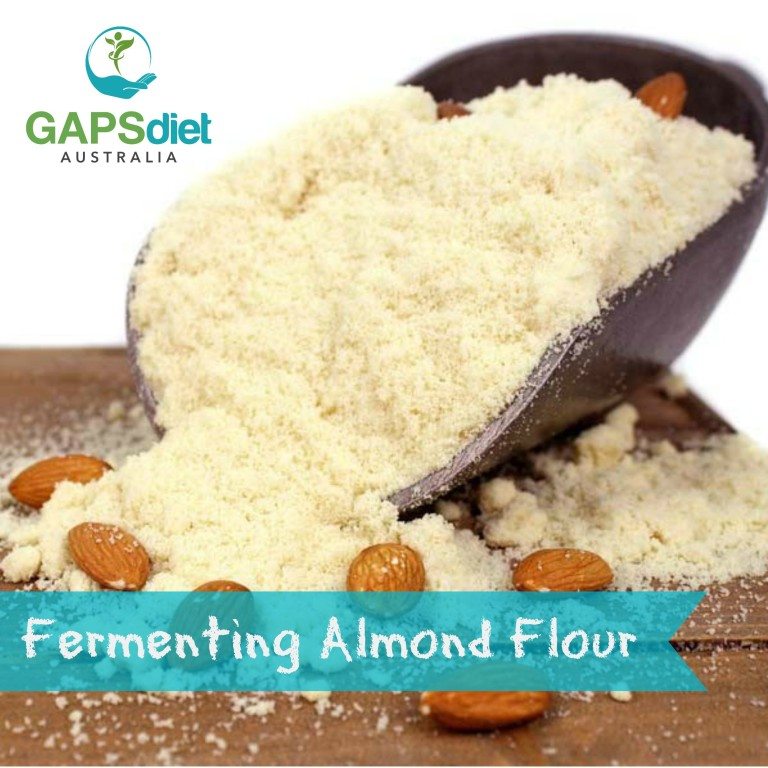
If the introduction of nuts or nut flour persists to be a problem for people starting the GAPS Diet, you may wish to ferment the nut flour itself. Both nuts and seeds contain phytates, phenols and oxalates etc and these can make it difficult for some people (not all) to digest whilst their gut is […]

Print Recipe
Fermented Almond Flour
Fermenting Almond Flour
Votes: 1
Rating: 5
You:
Rate this recipe!
Prep Time 5 mins
Passive Time 24 hours
Servings
cups
Ingredients
Fermenting mixture
  • 2-3 cups Blanched almond flour Organic - quantity here is dependant upon how much you plan to use for the recipe intended
  • 1 cup Whey This is the dripped liquid from your yoghurt - see whey recipe
  • 2 cups Filtered water
Special equipment
Fermenting Almond Flour
Votes: 1
Rating: 5
You:
Rate this recipe!
Instructions
  1. Add the almond flour into a bowl or dish
  2. Mix filtered water with a cup of whey and pour over the almond flour
  3. Leave the bowl or dish on the kitchen bench top at room temperature for 24 hours.
  4. When 24 hours have passed, drain the flour through a cheescloth and use the drained flour directly in baking.