Guacamole

Serve ripe avocado daily with every bowl of soup and with meats and fish. Avocados are a great source of vitamins C, E, K, and B-6, as well as riboflavin, niacin, folate, pantothenic acid, magnesium, and potassium. They also provide lutein, beta-carotene, and omega-3 fatty acids. Although most of the calories in an avocado come […]

Print Recipe
Guacamole
This recipe is appropriate from stage three onward
Votes: 0
Rating: 0
You:
Rate this recipe!
Servings
Ingredients
Servings
Ingredients
Votes: 0
Rating: 0
You:
Rate this recipe!
Instructions
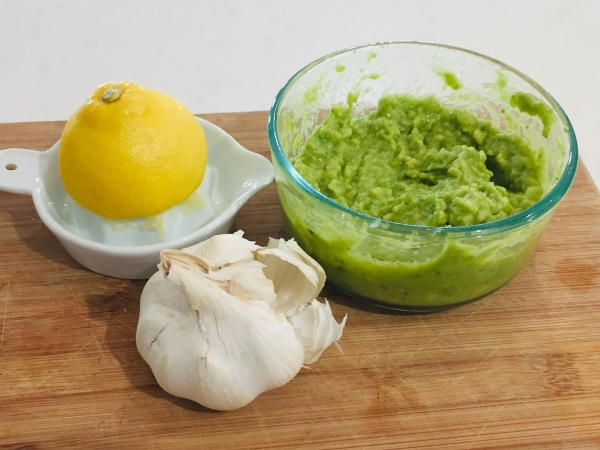
  1. Slice the avocado down the middle and around the seed. Remove the seed and scoop the avocado out of it's skin and place into a small bowl.
  2. Crush the garlic with a garlic crusher and add it to the avocado. You may want to start with a small amount of garlic as raw garlic can have quite a bite, however one of the best foods for the immune system so I like to have at least 4 cloves.
  3. Add the lemon juice and crush all the ingredients together with the back of a fork or use a potato masher. When the texture is smooth to your liking, store in the fridge. The lemon juice will help preserve the colour for a while and it should last a couple of days in the fridge.
Cooking the perfect GAPS egg

Eggs are the easiest food to digest and their nourishment has been compared to breast milk because it can be absorbed almost 100 percent without needing digestion.  Egg yolks provide many amino acids, vitamins (B1, B2, B6, B12, A, D & biotin), essential fatty acids, magnesium and zinc among many others.  Eggs are particularly high […]

Print Recipe
Cooking the perfect GAPS Egg
Eggs are appropriate for the introduction diet from stage 2 onward and for the GAPS Baby Diet Protocol from stage 4 onward
Votes: 2
Rating: 3.5
You:
Rate this recipe!
Prep Time 1 minutes
Cook Time 3-5 minutes
Servings
Ingredients
  • 1 egg organic free range
Prep Time 1 minutes
Cook Time 3-5 minutes
Servings
Ingredients
  • 1 egg organic free range
Votes: 2
Rating: 3.5
You:
Rate this recipe!
Instructions
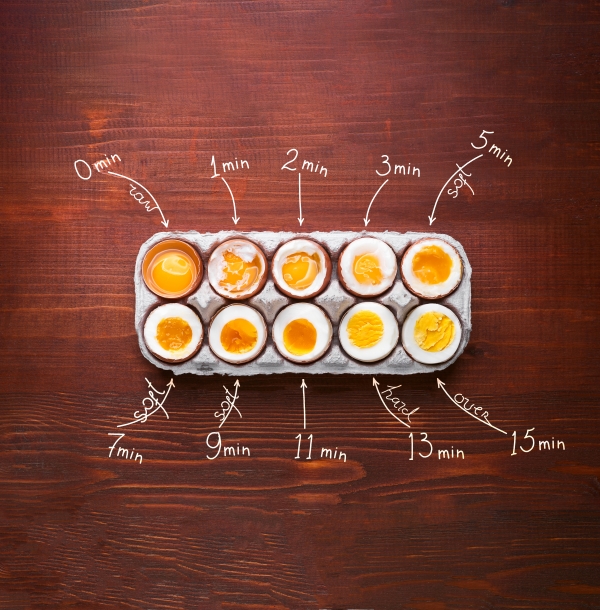
  1. Cook the egg so that the egg white is cooked and the egg yolk is still runny. This may require your own testing on the stove because every stove type will generate different heat and some are more immediate than others. Once you have achieved the desired egg, try to remember the time it took to cook it and you will have the perfect egg every time.
  2. For the perfect GAPS egg to ensure teh white is cooked and egg yolk runny, we recommend 3-5 minutes as shown on the egg cooking time chart.
  3. Peal the egg shell under cold water whilst it is still hot but not too hot to touch. This makes for an easier way to peal the egg with out breakage, otherwise put it in an egg cup, slice off the top and scoop it out.
  4. Add an egg to every bowl of soup.

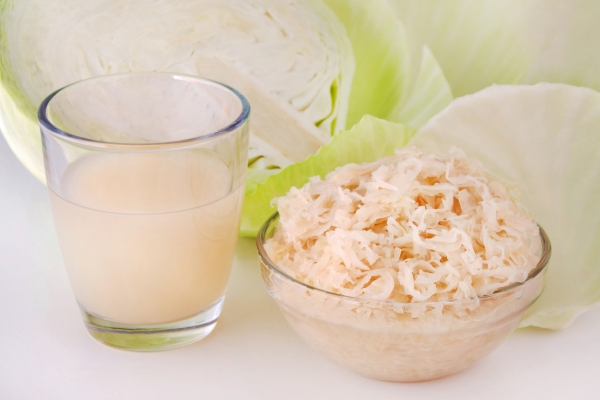
Sauerkraut

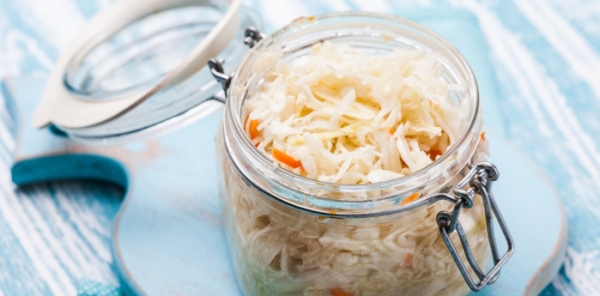
Sauerkraut is a condiment suggested to be eaten as a side dish whenever meat is consumed and especially at the end of the day when the body’s enzyme storage is depleted having already been expended on previous meals earlier in the day.  The evening meal is often the most difficult for people who suffer from […]

Print Recipe
Sauerkraut
This recipe is appropriate for the introduction diet from stage One onward
Votes: 0
Rating: 0
You:
Rate this recipe!
Servings
Litre
Ingredients
Sauerkraut
Sauerkraut Equipment
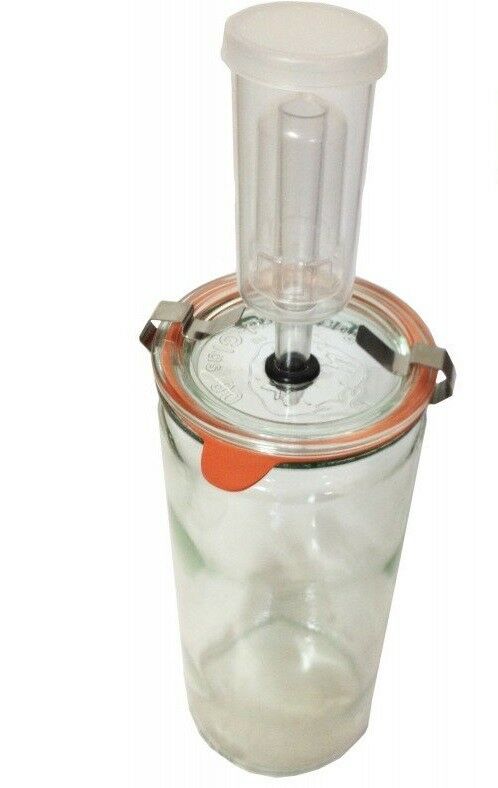
  • 1 Fermentation Vessel A glass jar or crock with a weight to hold the vegetables submerged under the brine and an airlock system with a release valve to allow air to escape whilst creating an anaerobic environment. Refer to Weck images below
  • 1 Mandolin For slicing cabage (or use a knife)
Votes: 0
Rating: 0
You:
Rate this recipe!
Instructions
  1. Thinly slice or shred the cabbage with a knife or mandolin. I like to use a mandolin.
  2. Place the shredded cabbage in a large glass bowl and add the dill (optional).
  3. For Wild Fermentation, add a generous amount of salt to the cabbage and mix it through with your hands to allow an overall coverage. Let it sit for 15 – 20 minutes to allow the salt to draw out some of the cabbage juice naturally. 5-8grams - (max 15grams) per 1kg cabbage. HINTS: Salt allows the cabbage to sweat so that juices can be extracted to create the brine. For Cultured fermentation, add the commercial culture starter as per packet instructions.
  4. Mix, massage and knead the ingredients with your hands. Bruising the cabbage this way allows the cabbage to extract a natural brine solution. Keep kneading until you have squeezed a substantial amount of juice from the mixture. Sometimes this may take 10-20 minutes. HINTS: It is beneficial to have someone with strong hands to do the kneading & massaging.
  5. Place mixture into the selected fermenting vessel and pack and push the mixture down so that the cabbage is compacted in the bottom and the juice is sitting on the top of the cabbage with a minimum of 4 - 5cm’s or 2 inches. It is important to push the cabbage down firmly so that no air is trapped and the cabbage is completely submerged in and under its own brine juice. HINTS: If for any reason the cabbage is not submerged under enough of its own juices, you may need to add a small amount of filtered water with more salt (15 gms of salt to 1 ltr).
  6. Place the weight on the top of the cabbage to keep all the cabbage submerged. Push the weight down and you will see more juice rise to the top. It is very important to ensure that all the sauerkraut is submerged under its own juice. If any bits of cabbage float up to the surface, remove them throughout the fermentation process to prevent them from going moldy.
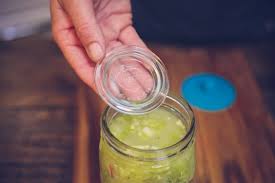
  7. If you use a canning jar with a rubber ring top, and close the lid, be sure to burp it a few times in the first few days to release the pressure. If using the weck airlock system which has it's own release valve allowing gasses to escape without letting air into the jar, place the rubber ring around the top and clamp down the lid with the attached release valve to the top. Store in a dark place for one to two weeks (ie pantry).
  8. The sauerkraut may be consumed and ready to eat after 5-7 days but it matures better with age so it is good to wait the full two weeks unless the outside temperature is hot which will speed up the fermentation process.
  9. The sauerkraut may be stored in the fridge after 1-2 weeks of fermentation. If there is any scum or mold development on the top – remove this. The kraut remaining under the juice will be fine.
Recipe Notes

Optional: It is also nice to add a little grated carrot to your sauerkraut.

Fermented Sauerkraut Juice

What if you run out of sauerkraut juice on the introduction diet? Sauerkraut juice is a by-product from making sauerkraut.  There is often not enough to cater for the introduction diet stages when you purchase sauerkraut or when you make your own so here is a recipe that will help you keep up with your […]

Print Recipe
Sauerkraut Juice
Votes: 0
Rating: 0
You:
Rate this recipe!
Servings
litres
Ingredients
Juice Ingredients
Servings
litres
Ingredients
Juice Ingredients
Votes: 0
Rating: 0
You:
Rate this recipe!
Instructions
  1. Fresh press your cabbage to make close to a litre of cabbage juice.
  2. And add either a cup of whey dripped from your yoghurt or kefir or use some yoghurt starter or vegetable culture.
  3. A cup of water can be added to top it up.
  4. Ferment the juice on the bench for 24 – 48 hours at room temperature and you will notice it will become slightly carbonated or effervescent. It is good to use a glass container that is sealed tight. Be sure to release any gas build up in the bottle by loosening the jar and tightening it again during the fermentation process.
Recipe Notes

Store in the fridge when fermentation is complete.

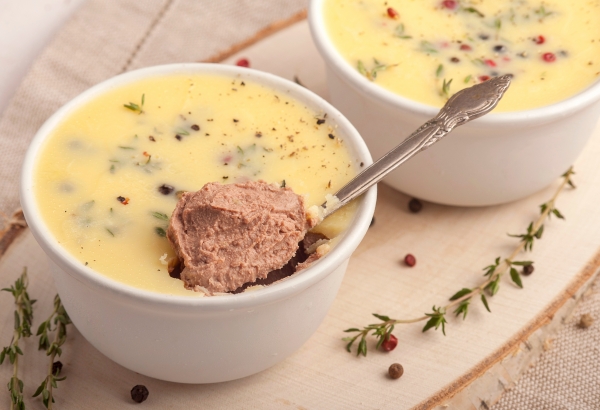
Organic Chicken liver pate

Organ meats are recognised as a ‘top GAPS nutrient dense food‘ and to ensure you are nourishing your body adequately this recipe will allow you to get your daily portions to optimise healing.  Many people having tasted liver on it’s own before (like myself) may feel that it is not on their fabourite go to […]

Print Recipe
Organic Chicken liver pate
Votes: 5
Rating: 4.2
You:
Rate this recipe!
Servings
Ingredients
Soaking Solution
  • 2 Cups Kefir if you have a food allergy to dairy kefir, lemon juice or apple cider vinegar work great too.
Chicken Liver Pate
Servings
Ingredients
Soaking Solution
  • 2 Cups Kefir if you have a food allergy to dairy kefir, lemon juice or apple cider vinegar work great too.
Chicken Liver Pate
Votes: 5
Rating: 4.2
You:
Rate this recipe!
Instructions
Preparation and Soaking
  1. After you have frozen the liver for two weeks prepare your liver by soaking it. Simply add the liver to a glass bowl and pour the kefir over the top making sure it is all covered and place it in the fridge for 4 hours or overnight. This will help to remove any impurities, tenderise the liver and improve the flavor of the liver.
  2. When soaking is complete, wash the liver to remove the kefir with filtered water.
Liver Pate
  1. Heat oil/fat in pan and add onion, celery and garlic and sauté for 1 minute
  2. Add liver and sauté till opaque
  3. Add herbs if selected and let cool
  4. Transfer to the blender and remaining oil/fat and blend till smooth
  5. Transfer to glass container and refrigerate
  6. Add melted ghee or lard over the top to create a skin to preserve the colour. Sprinkle a little herbs over the top for garnish if you wish.
  7. Alternatively transfer mixture to ice cube trays and freeze
Recipe Notes

Clinical Notes

Another way to supplement with liver if you do not like the flavour of pate is to freeze it raw and cut them into small capsule sizes and swallow them whole like a capsule.  This way you will not taste the liver as it is swallowed whole.  If you do this option, be sure to freeze the liver for two weeks first.

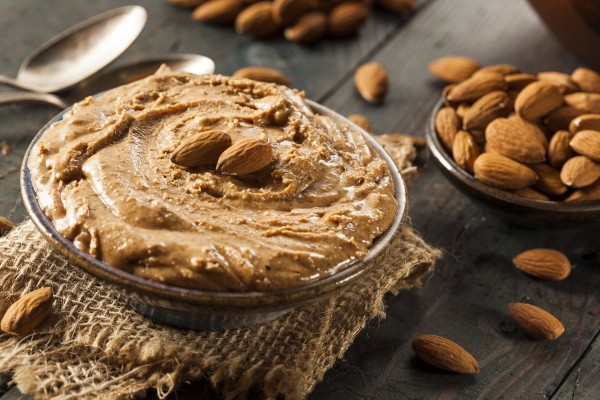
Nut Butter

The GAPS Diet advocates you make your own nut butters especially if you are just starting out with GAPS.  This way you know exactly what is in it and whether any reactions are specific to the nuts or other hidden ingredients or chemicals.  Store bought nut butter is acceptable so long as it does not […]

Print Recipe
Nut Butter
This recipe is appropriate for the Introduction Diet from Stage 3 onward
Votes: 1
Rating: 5
You:
Rate this recipe!
Prep Time 20 Minutes
Servings
Jar
Ingredients
Prep Time 20 Minutes
Servings
Jar
Ingredients
Votes: 1
Rating: 5
You:
Rate this recipe!
Instructions
  1. Soak and dry nuts as per our recipe provided in the recipe section under condiments
  2. Blanch nuts if required (see almond blanching recipe instructions) This is not usually necessary if the nuts have been soaked but this step can be helpful for extreme sensitivities.
  3. Using a good strong blender, vitamix or thermo mixer, blend nuts and salt for as long as it takes to break down the size of the nuts into a nut butter consistency whilst gradually adding the coconut oil sparingly to begin with and proceed to add additional oil to produce the smooth consistency desired. This can take up to 20 minutes.
  4. If the nuts have been roasted, you may not need any oil or very little. Children love honey added to this spread but this is dependent upon whether you are ready to introduce honey at this stage and whether you are trying to avoid yeast feeding sugars.
  5. Remember: preparing your nuts through drying and soaking first will allow for a better nut butter and easier digestion.
Recipe Notes

Clinical Notes

Nuts and Seeds are fibrous and should not be introduced for GAPS patients until digestive symptoms have shown some signs of improvement. The introduction diet provides a slow introduction to nuts by starting with nut butter followed by baking with nut flour and finally nuts for snacks themselves with encouragement to prepare them and chew them well. The sensitivity test is advised to be carried out first for those who suspect a true nut allergy, however there are many people who express their intolerance for nuts during the introduction diet who may need to determine themselves whether to wait until further healing takes place before introducing them.

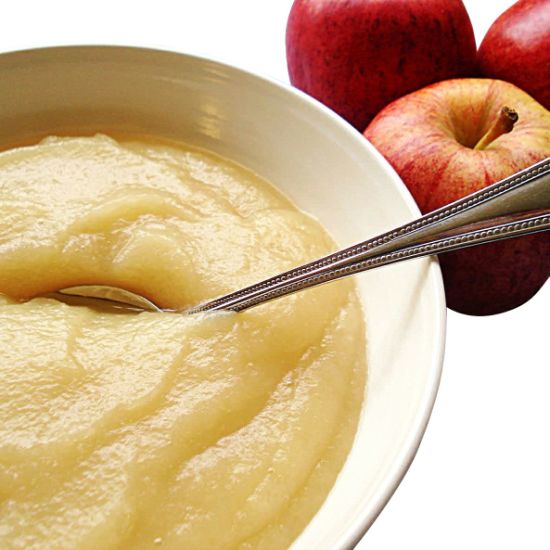
Apple Puree

Apple Pure is introduced in the Introduction Diet on stage 5.  Apple Pure for GAPS is an easy way to disguise fats.  GAPS is a high fat diet so we want to add fats to everything and apple puree is a good way to deliver it. We usually add duck fat, ghee or coconut oil.  […]

Print Recipe
Apple Puree
This recipe is appropriate for the GAPS Introduction Diet from stage 5 onward
Votes: 0
Rating: 0
You:
Rate this recipe!
Prep Time 5-10 Minutes
Cook Time 15-20 Minutes
Servings
People
Ingredients
Fruit
Other
Prep Time 5-10 Minutes
Cook Time 15-20 Minutes
Servings
People
Ingredients
Fruit
Other
Votes: 0
Rating: 0
You:
Rate this recipe!
Instructions
  1. Peel and core the ripe apples and slice thinly into your stainless steel cook pot. An apple slinky is great at doing this job.
  2. Add the water and cook the apples on low whilst stirring occasionally. You may place the lid on top to create steam in the cooking process.
  3. When the apples have become soft, take the pan off the stove and mash with a vegetable masher.
  4. Add a couple of tablespoons of ghee or duck fat or coconut fat (depending on what you have introduced) and blend with the apple.
  5. Store the stewed apples in the fridge.
Recipe Notes

Clinical Notes

Start to introduce with a few spoonful’s  a day and gradually increase the amount if there are no reactions.

Ghee (clarified butter)

  It’s hard to improve on butter, but… Ghee, a traditional Indian preparation, eliminates the milk solids and gives you just the pure, unadulterated butterfat. It’s gheelicious. And it doesn’t burn, so it is a perfect choice for high temperature frying. Before introducing butter on the GAPS diet, the introduction stages advises to introduce ghee […]

Print Recipe
Ghee (clarified butter)
This recipe is appropriate for stage two of the GAPS Introduction Diet and onwards
Votes: 0
Rating: 0
You:
Rate this recipe!
Prep Time 15 mins
Cook Time 1 hour
Servings
tub
Ingredients
Prep Time 15 mins
Cook Time 1 hour
Servings
tub
Ingredients
Votes: 0
Rating: 0
You:
Rate this recipe!
Instructions
Option one
  1. Preheat your oven to approximately 60 – 120 Degrees Celsius.
  2. Add a large block of unsalted organic butter to a glass or stainless steel oven dish and leave it in the oven for 45 – 60 minutes.
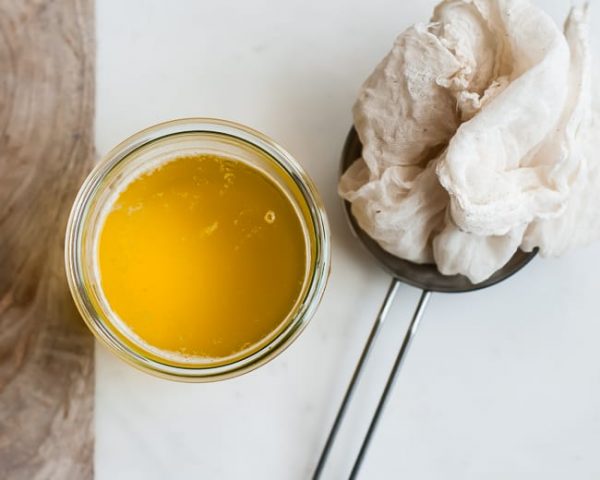
  3. The liquid in the dish will separate with milk solids on the bottom (liquid creamy white colour), ghee in the middle (yellow) with some floaty bits of whey on top (crusty yellow and golden brown floaty bits). The whey can be carefully scooped out from the top with a tea strainer and the yellow liquid which is the ghee can be carefully poured into a jar with a cheese cloth on top to catch any whey or unwanted milk solids. Try not to disrupt the milk solids and ensure that they remain in the bottom of the pan as you pour out the ghee.
  4. Discard the milk solids and refrigerate the ghee in glass jars.
Option two
  1. Melt the unsalted butter in a saucepan over low heat. Don't stir.
  2. Reduce heat and let the melted butter simmer for an hour or until a firm "foam" forms on the surface.
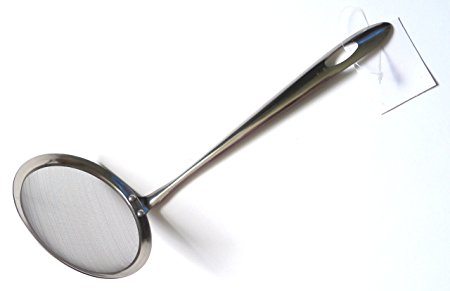
  3. Remove the foam with a flat head stainless steel seive straining spoon (see image). On the bottom, you'll now see white milk protein, which you want to leave behind in the pan or filter out of your ghee.
  4. Carefully pour the clarified butter through a cheese cloth. The white milk protein should remain in the cloth, while the clear butterfat seeps through.
  5. Repeat the filtering a couple of times for optimal results.
  6. Let the ghee cool in a glass jar and store at room temperature.
Recipe Notes

Other Options: You can use your slow cooker to make ghee. Put the butter in it and turn on low heat for 6-8 hours. Then follow the steps above.