Elderflower Champagne

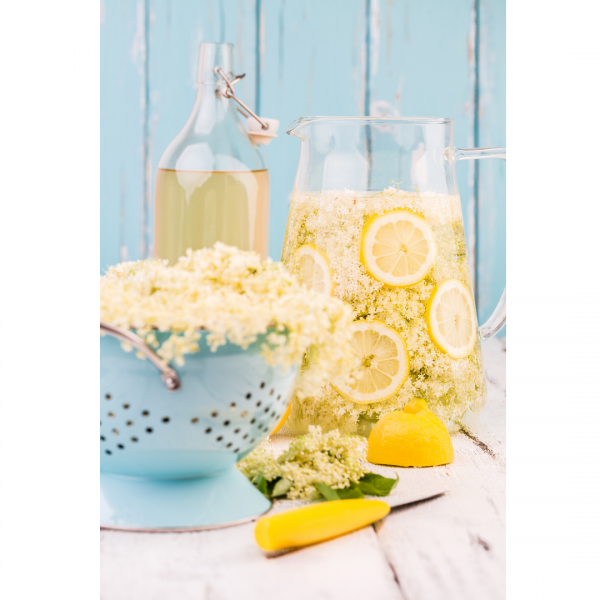
This is a refreshing probiotic immune boosting beverage made through wild fermentation. Made with the white-colored flowers of the elderberry shrub (Sambucus nigra or S. canadensis), elderflower champagne is a naturally bubbly, lightly alcoholic beverage with a delicate taste. It’s worth noting that this fermented elderflower beverage isn’t technically champagne because it doesn’t contain the grape […]
Print Recipe
Elderflower Champagne
Full GAPS
Votes: 0
Rating: 0
You:
Rate this recipe!
Prep Time 10 minutes
Cook Time 20 minutes
Servings
Litres
Ingredients
Prep Time 10 minutes
Cook Time 20 minutes
Servings
Litres
Ingredients
Votes: 0
Rating: 0
You:
Rate this recipe!
Instructions
  1. Prepare the flowers Do not wash the elderberry flowers. There is a natural yeasts on the flowers that will initiate the fermentation process. Just shake off any insects and remove any sticks and leaves from the cluster bunch completely!! ONLY use the flowers themselves as the leaves and branch can be poisonous.
  2. Place the honey in a very large bowl and pour in the boiling water. Stir until the honey or sugar has completely dissolved.
  3. Add the cold water. Stir in the vinegar or lemon juice and the elderberry flowers. Optional: I like to slice some round lemons pieces to add to the mixture.
  4. Cover with a clean dishtowel or cheesecloth and let the mixture sit at room temperature for 48 hours, stirring at least twice a day. By the end of these two days, you should see signs of fermentation: the top of the liquid will look frothy and bubbly, especially when you stir it. If the liquid is remains completely still after 48 hours, add a teaspoon of water kefir grains and wait another 48 hours, stirring occasionally, before proceeding to the next step. (the room temperature and the amount of beneficial yeast on the flowers plays a part in this process which is why you may or may not need the kefir grains) In most cases I like to add them any way, especially in the colder months).
  5. After 48 - 84 hours, pour the fermenting elderflower champagne through a finely meshed sieve to strain out the flowers (and lemon rind, if using). Use a funnel to help transfer the brew into clean plastic soda-type bottles with screw tops or thick ceramic or beer bottles with rubber flip tops. Do not use corked wine bottles because elderflower champagne is quite capable of popping out the corks or worse—exploding the bottles. Leave at least an inch of headspace between the surface of the liquid and the rims of the bottles. Secure the tops.
  6. Leave at room temperature for a week, “burping” (opening briefly) the bottles at least once a day. After the week at room temperature, move them to the refrigerator, but keep “burping” the bottles occasionally for another week.
  7. When ready to serve I like to add in fresh lemons, oranges and mint leaves. It is a lovely beverage.
Recipe Notes


  • Elderflower champagne will keep in the refrigerator for several months.
  • The earlier you drink it, the yeastier it will taste. Wait at least 2 weeks from bottling if you want it at its best.
  • Sugar can be used in the fermentation process and don't worry, the sugar content will be consumed during fermentation.  The honey version takes slightly longer to ferment out than the sugar version.
  • The final drink should be fizzy and lightly sweet.


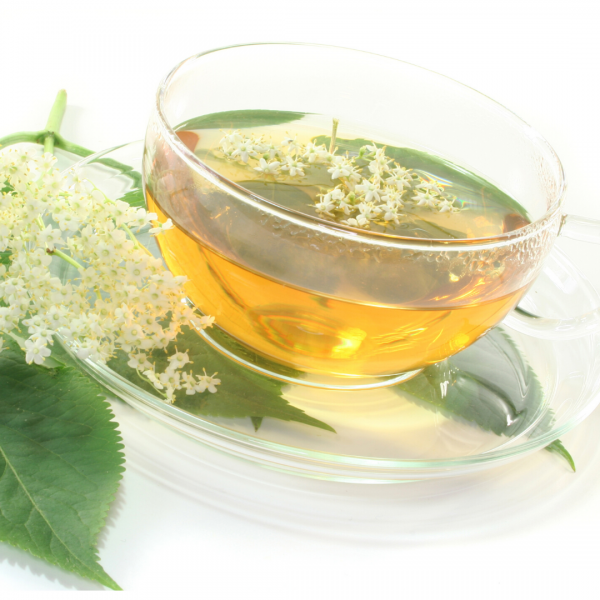
Elderflower Tea

Elderflowers contain wonderful immune properties. They are used for swollen sinuses (sinusitis), colds, influenza (flu), swine flu, bronchitis, diabetes, and constipation. It is also used to increase urine production (as a diuretic), to increase sweating (as a diaphoretic), and to stop bleeding. … Elderflower water is used in eye and skin lotions. Elderberry flowers can […]

Print Recipe
Elderflower Tea
Votes: 1
Rating: 5
You:
Rate this recipe!
Prep Time 3 minutes
Passive Time 7-10 minutes
Servings
people
Ingredients
Prep Time 3 minutes
Passive Time 7-10 minutes
Servings
people
Ingredients
Votes: 1
Rating: 5
You:
Rate this recipe!
Instructions
  1. Add 1 tablespoon dried elderberry flowers in a tea pot and fill up with boiling water. Elderberry flowers can be dried easily by hanging them or by drying them in the dehydrator.
  2. Let steep for 7 to 10 minutes.
  3. Strain and sweeten with raw honey to taste.
Recipe Notes

Elderflowers contain wonderful immune properties. They are used for swollen sinuses (sinusitis), colds, influenza (flu), swine flu, bronchitis, diabetes, and constipation. It is also used to increase urine production (as a diuretic), to increase sweating (as a diaphoretic), and to stop bleeding. ... Elderflower water is used in eye and skin lotions.

Elderberry flowers can be dried easily by hanging them or by drying them in the dehydrator in preparation to store them for tea making.

WHAT DOES IT TASTE LIKE? It's Floral, But It's Nothing Like Lavender Or Rose. Yes, there's that slightly herby flavor you'd get from edible flowers, but elderflower's sweeter than you'd expect - and a little musky. It's closer to lychee in flavor, and it has a crisp, palate-cleansing finish.


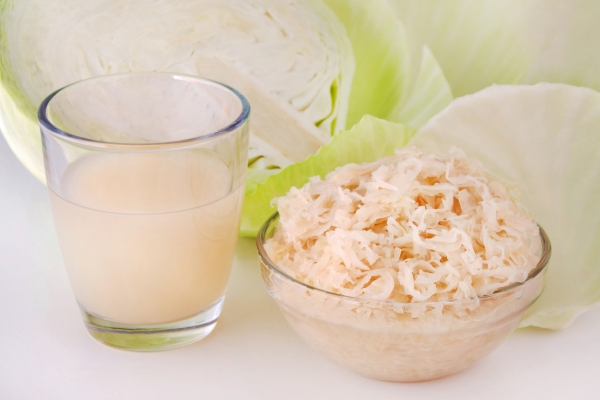
Fermented Sauerkraut Juice

What if you run out of sauerkraut juice on the introduction diet? Sauerkraut juice is a by-product from making sauerkraut.  There is often not enough to cater for the introduction diet stages when you purchase sauerkraut or when you make your own so here is a recipe that will help you keep up with your […]

Print Recipe
Sauerkraut Juice
Votes: 0
Rating: 0
You:
Rate this recipe!
Servings
litres
Ingredients
Juice Ingredients
Servings
litres
Ingredients
Juice Ingredients
Votes: 0
Rating: 0
You:
Rate this recipe!
Instructions
  1. Fresh press your cabbage to make close to a litre of cabbage juice.
  2. And add either a cup of whey dripped from your yoghurt or kefir or use some yoghurt starter or vegetable culture.
  3. A cup of water can be added to top it up.
  4. Ferment the juice on the bench for 24 – 48 hours at room temperature and you will notice it will become slightly carbonated or effervescent. It is good to use a glass container that is sealed tight. Be sure to release any gas build up in the bottle by loosening the jar and tightening it again during the fermentation process.
Recipe Notes

Store in the fridge when fermentation is complete.

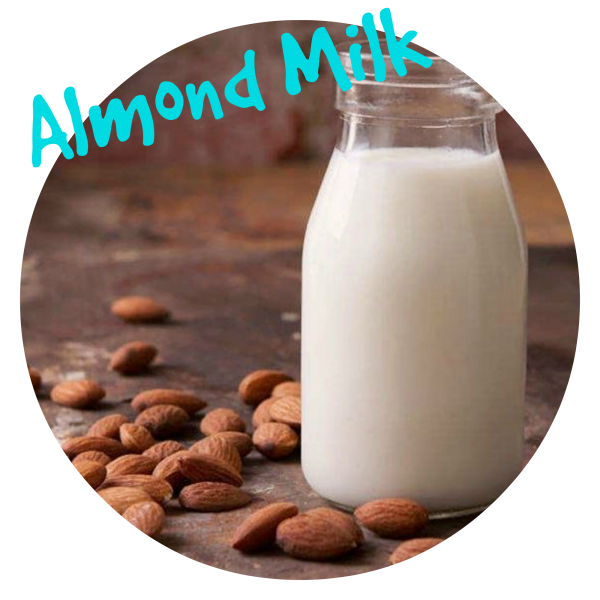
Nut Seed Milk

Preparation in making nut milk is important, especially for people who already have digestive problems and food sensitivities. Almonds (as well as most other nuts) contain toxic substances known as enzyme inhibitors and phytates (phytic acid). These toxins can play havoc in the digestive system, blocking nutrients such as calcium, magnesium, copper iron and especially […]

Print Recipe
Nut Seed Milk
This recipe is appropriate for the Introduction diet when nuts have been successfully introduced and tolerated from stage 4 onward.
Votes: 0
Rating: 0
You:
Rate this recipe!
Prep Time 5 Minutes
Passive Time 14 Hours
Servings
People
Ingredients
Prep Time 5 Minutes
Passive Time 14 Hours
Servings
People
Ingredients
Votes: 0
Rating: 0
You:
Rate this recipe!
Instructions
Part 1 - Soaking
  1. Add 3 cups of filtered water to a jug or bowl and mix in 1 tablespoon of salt
  2. Add 1 cup of almonds and cover with a tea towel or cheese cloth
  3. Soak the nuts in the salt water brine for 12 hours
  4. Rinse the nuts under filtered water to remove salt residue and discard the salt water brine
  5. Place the nuts in a clean jug or bowl and add 1 - 2 teaspoons of flaxseeds and 3 – 4 cups of water and place in the fridge for 2 – 3 hours. Adding the flaxseeds will allow the milk to thicken a little more. Exclude this step if you have no concern for thickness
  6. If you wish to add a little sweetener to the milk, this will be the stage that you will need to add the pitted dates to the mixture to soak for a few hours. This is optional
Part 1 - Blending and Straining
  1. Add the soaked nut mixture from the fridge (including the water) to a good strong blender, vitamix or thermo mixer and blend for as long as it takes to break down the size of the nuts into a pulp consistency
  2. Place a nut milk bag or cheesecloth over a bowl and pour the milk mixture through the cheesecloth or nut milk bag like a strainer
  3. When all the pulp and liquid has been strained through the nut milk bag or cheesecloth, squeeze any excess milk from the pulp mixture with your hands, allowing the milk to drain through the cloth. If you find that the milk is too rich, simply add more filtered water
  4. Store in the fridge for 2 – 3 days.
Recipe Notes

Clinical Notes

Why soak nuts and seeds?

  • To neutralize enzyme inhibitors
  • To remove or reduce phytates
  • To encourage the production of beneficial enzymes

GAPS Chamomile Tea

Good organic Chamomile tea can be found at your local health food store, however here are the instructions on how to make your own. Chamomile flowers are a little white flower with a yellow centre like a small daisy. There are two types of chamomile – the Roman or English Chamomile, which is a perennial, […]

Print Recipe
GAPS Chamomile Tea
This recipe is approapriate for the introduction diet from stage One onward
Votes: 0
Rating: 0
You:
Rate this recipe!
Prep Time 5 Minutes
Servings
Person
Ingredients
Prep Time 5 Minutes
Servings
Person
Ingredients
Votes: 0
Rating: 0
You:
Rate this recipe!
Instructions
  1. Snip the flowers off when they’re flowering in summer, and use them fresh in a teapot with filtered boiling water.
  2. You may also dry them and store them in an airtight container to use at a later time
  3. Let the tea steep for 3 – 5 minutes before pouring through a tea strainer (consumed between meals).
Recipe Notes


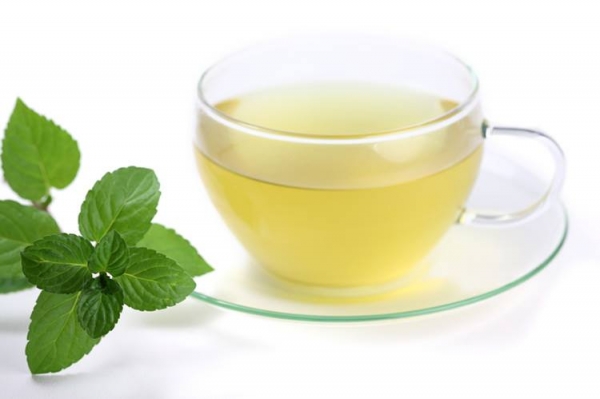
GAPS Mint Tea

Good organic mint tea can be found at your local health food store, however here are the instructions on how to make your own. There are a variety of mint plants available at nurseries; spearmint, chocolate mint, apple mint, pineapple mint, lemon mint, etc. Mint has some interesting healing properties associated with settling a nervous […]

Print Recipe
GAPS Mint Tea
This recipe is appropriate for the introduction diet from Stage 1 onward
Votes: 0
Rating: 0
You:
Rate this recipe!
Prep Time 5 Minutes
Servings
Person
Ingredients
Prep Time 5 Minutes
Servings
Person
Ingredients
Votes: 0
Rating: 0
You:
Rate this recipe!
Instructions
  1. Cut some fresh mint leaves by removing them from their stems
  2. Place the leaves into a pot and pour filtered boiling water over the top and allow to steep for 3 – 5 minutes.
  3. Pour the tea through a tea strainer and enjoy
  4. Use one teaspoon of mint tea leaves per cup

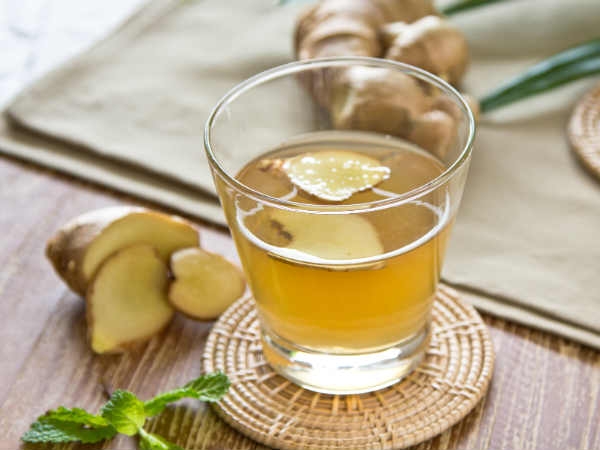
GAPS Ginger Tea

Ginger is well known for its relief of pain and inflammation and assists in soothing the digestive tract, reduces flatulence and eases symptoms of nausea. Print Recipe GAPS Ginger Tea This recipe is appropriate for the introduction diet from Stage 1 onward Votes: 0 Rating: 0 You: Rate this recipe! Course Beverages Cuisine Full GAPS […]

Print Recipe
GAPS Ginger Tea
This recipe is appropriate for the introduction diet from Stage 1 onward
Votes: 0
Rating: 0
You:
Rate this recipe!
Prep Time 5 Minutes
Servings
Person
Ingredients
Prep Time 5 Minutes
Servings
Person
Ingredients
Votes: 0
Rating: 0
You:
Rate this recipe!
Instructions
  1. Grate some fresh ginger root and place a teaspoon of grated ginger in the teapot and pour boiling water over it
  2. Let the tea steep for 3 – 5 minutes before pouring through a tea strainer. (to be consumed between meals)

GAPS Milkshake/Smoothie

The GAPS Milkshake should be avoided if the patient suffers from digestive distress associated with diarrhoea. This milkshake will provide valuable raw nutrients and beneficial fats. Some parents find it easier to add Cod Liver Oil to the milkshake, rather than on its own and children don’t know it has been added. Dr Natasha suggests […]

Print Recipe
GAPS Milkshake / Smoothie
This recipe can be introduced on the introduction diet from stage 5 onward unless otherwise advised by your Certified GAPS Practitioner.
Votes: 2
Rating: 5
You:
Rate this recipe!
Prep Time 10 Minutes
Servings
Person
Ingredients
Fruit
Vegetables
Fats
Eggs
Prep Time 10 Minutes
Servings
Person
Ingredients
Fruit
Vegetables
Fats
Eggs
Votes: 2
Rating: 5
You:
Rate this recipe!
Instructions
  1. Wash all fruit and vegetables
  2. Freshly press all fruit and vegetable in your juicer
  3. Pour juice into a blender if you have one
  4. Add the eggs and fats to the juice. Blend the mixture together in the blender or mix by a hand held kitchen tool
Recipe Notes

Alternative Options

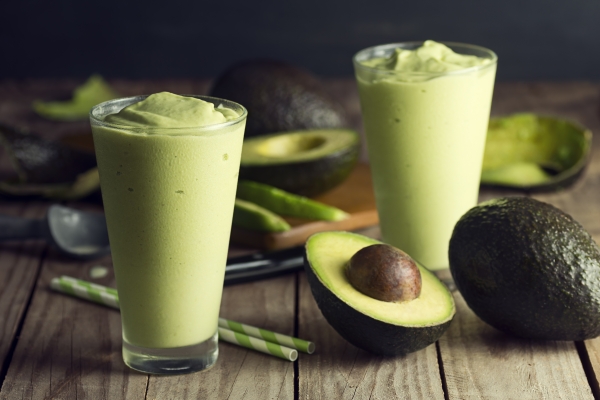
The GAPS Milkshake/Smoothie is not limited to the above fruit and vegetable combinations. You may wish to include mint, carrot, kale, berries, banana's or exclude cabbage or other items. Just remember to include one of the ingredients from the FATS and EGGS with your fruit and veg juice combination.  Avocado is also another great source of healthy fat to add to the smoothy and provides a nice added texture.

My favorite combination smoothie

Apple, Celery, Mint, Avocado, Egg and Yoghurt

Clinical Notes

If the person is not prone to diarrhoea, this recipe can be introduced the GAPS milkshake from the beginning in stage one or two.

Coconut Milk

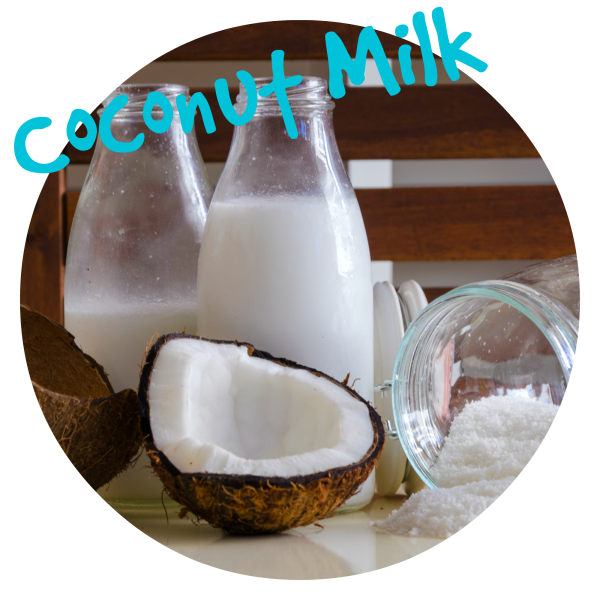
Here we have two coconut milk recipes for the GAPS Diet for people who cannot tolerate nut milks. Canned coconut milk often contains, preservatives and other additives that the GAPS Program does not allow for. BPA is also usually lined within the tin cans containing coconut milk as well. For these reasons, we encourage you […]

Print Recipe
Coconut Milk
This recipe is appropriate for the Introduction diet when nuts have been successfully introduced and tolerated from stage 4 onward.
Votes: 1
Rating: 5
You:
Rate this recipe!
Prep Time 20-40 mins
Servings
Cups
Ingredients
Raw Coconut Milk
  • 4-6 Young green coconuts Enough to produce 1-2 cups of fresh coconut meat and 1/4 - 1/2 cup of coconut water
Equipment for Raw Coconut Milk
Coconut Milk from Shredded Coconut
Prep Time 20-40 mins
Servings
Cups
Ingredients
Raw Coconut Milk
  • 4-6 Young green coconuts Enough to produce 1-2 cups of fresh coconut meat and 1/4 - 1/2 cup of coconut water
Equipment for Raw Coconut Milk
Coconut Milk from Shredded Coconut
Votes: 1
Rating: 5
You:
Rate this recipe!
Instructions
Raw Coconut Milk
  1. With a sterilised kitchen flat head screw driver, use a hammer to pierce three holes into the top of the young green coconut ensuring that it penetrates the nut inside.
  2. Line a strainer with a cheese cloth over the jug or bowl and pour the coconut water from the three holes into the jug and set aside
  3. When all the coconut water is drained, open the top of the coconut by slashing the top off with a strong knife or cleaver. This may take a few slashes on each side at the top of the coconut. There are many videos online that you can view to learn how to do this.
  4. When the top of the coconut is open, spoon out the coconut meat from the sides of the shell. Try to avoid collecting the brown husk and only set aside the white soft meaty flesh. The meat from a young coconut should be soft and moist. If you have lots of coconuts you can do this all at once and freeze the coconut meat for later use.
  5. Repeat the above 3 steps with all coconuts until you have two cups of coconut meat flesh.
  6. Place the coconut meat into a good strong blender, vitamix or thermo mixer and mix the ingredients for as long as it takes to reach a smooth thick consistency whilst gradually adding the coconut water for the desired thickness result. It is important to ensure that the coconut milk mixture is not grainy or lumpy if you wish to have the best yoghurt like resemblance to make yoghurt later.
  7. Contain in a glass bottle with a screw top lid and store in the fridge. Keeps for up to one week in the fridge or can be frozen.
Coconut Milk from Shredded Coconut
  1. Add 1 cup of shredded coconut to one cup of water in a saucepan and bring to the boil. Boiling the coconut will rehydrate the coconut and release the natural coconut fat making it thicker.
  2. Allow the mixture to cool for 15 – 20 minutes and then add the mixture to a good strong blender, vitamix or thermo mixer and mix the ingredients well for a few minutes or so.
  3. Line the top of a jug with a strainer and cheesecloth and pour the mixture through the cheesecloth.
  4. Lifting the edges of the cheesecloth and gathering the strained coconut flakes, twist the cloth and squeeze with your hands allowing all the coconut milk to drip through the strainer and into the jug.
  5. When all the milk has been squeezed and collected in the jug, contain in a glass bottle and store in the fridge. Keeps for up to one week in the fridge.