Duck Dripping

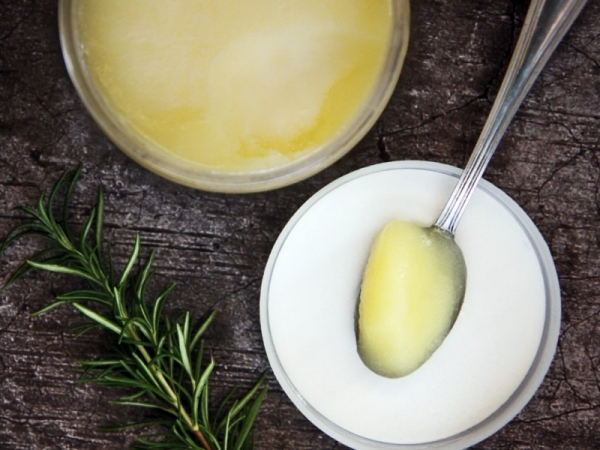
Duck fat is an old time cooking staple in Southwest France and a secret ingredient of chefs use worldwide. Incredibly tasty with a silky mouth-feel, duck fat enhances anything it is used to cook with. The great thing about rendering your own duck fat is that you end up with a batch of cracklings—delicious to […]

Print Recipe
Duck Dripping
Rendered Animal Fats: Stage one appropriate onward
Votes: 0
Rating: 0
You:
Rate this recipe!
Prep Time 15-20 Minutes
Cook Time 1-2 Hours
Servings
Cup
Ingredients
Prep Time 15-20 Minutes
Cook Time 1-2 Hours
Servings
Cup
Ingredients
Votes: 0
Rating: 0
You:
Rate this recipe!
Instructions
Option one Dripping
  1. From one whole organic duck, remove the fat and skin and set aside. The duck meat and bones can be frozen and used in a later recipe. Alternatively you can ask your butcher for duck or chicken skins.
  2. Preheat the oven to 180 degrees Celsius and bake your duck fat on top of the dripping rack with the oven pan placed beneath to catch all the fat dripping.
  3. When all the fat is cooked in approximately two hours, remove from the heat and allow to cool a little before filtering through a stainless steel strainer. Discard the fat and pour the dripping into heat tempered glass jars like the ball mason wide mouthed jars - see link for supplies below. Be careful not to pour into regular glass jars to avoid the risk of breakage.
Option 2 Rendering
  1. From one whole organic duck, remove the fat and skin and set aside. The duck meat and bones can be frozen and used in a later recipe. Alternatively you can ask your butcher for duck or chicken skins.
  2. Cut skin and fat into medium pieces and put into a medium heavy-bottomed pot. Add ½ cup water and simmer over medium heat until water evaporates and skin pieces are crisp and have released all their fat, about 1 hour.
  3. Remove from the heat and allow to cool a little before filtering through a stainless steel strainer. Discard the fat and pour the dripping into heat tempered glass jars like the ball mason wide mouthed jars - see link for supplies below. Be careful not to pour into regular glass jars to avoid the risk of breakage.
Recipe Notes

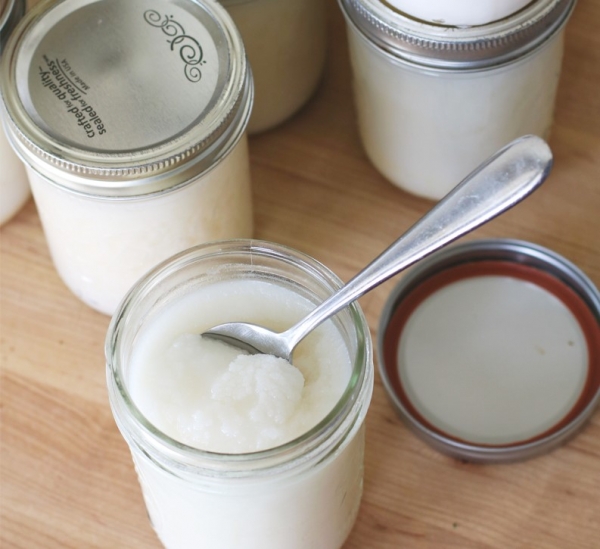
Storage: Store in Ball mason wide mouthed freezer safe jars.  These are heat tempered and will not crack when you pour the lard into them.

This fat can also be made using chicken skins: just ask your butcher for a bag of chicken skins.  This can also be rendered on a low heat in a slow cooker whilst also producing tasty crunchy chicken skins for snacks.  Kids love em.

Lard & Tallow

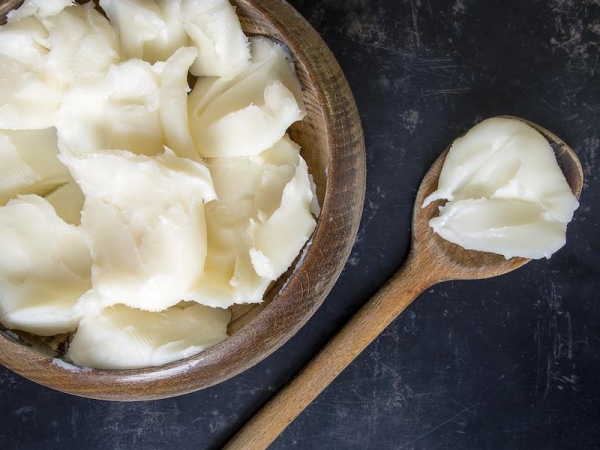
Rendering animal fats are very simple – in this recipe we will provide three ways to render lard and tallow/suet ►Lard from Pork FAT ►Tallow & Suet from Beef or Lamb FAT Ask your butcher for a big bag of any of the above animal fats (preferably organic) ► Dripping from a Duck, or Goose […]

Print Recipe
Lard & Tallow
Rendered Animal Fats: Stage one appropriate onward
Votes: 0
Rating: 0
You:
Rate this recipe!
Prep Time 15-20 Minutes
Cook Time 2-4 Hours
Servings
Mills
Ingredients
Option 1: Dripping in the oven - You will need a large oven tray with a dripping rack
  • 1 Kg Raw Pork Fat Alternatives: Tallow (beef or lamb fat) cut off any excess meats
Option 2: Rendering in the oven - You will need a large oven tray
Option 3: Slow Cook Render - You will need a slow cooker
  • 1 kg Raw Pork Fat Alternatives: Tallow (beef or lamb fat) cut off any excess meats
Votes: 0
Rating: 0
You:
Rate this recipe!
Instructions
Option One: Oven Dripping
  1. Preheat the oven to 120 - 130 degrees Celsius.
  2. Trim off any meat still attached to the fat - we only want the fat. A little bit of meat left on the fat is harmless as it will drop out during the rendering process, however it will change the flavour.
  3. Place the fat pieces on your dripping rack and sit your dripping rack on or inside your oven pan.
  4. Render the fat for approximately 2-3 hours. The liquid fat will drip from the large piece of fat into the bottom pan.
  5. Remove from the heat and allow to cool a little before filtering through a stainless steel strainer. Discard the fat and pour the lard into heat tempered glass jars like the ball mason wide mouthed jars - see link for supplies below. Be careful not to pour into regular glass jars to avoid the risk of breakage.
Option Two: Oven Render
  1. Preheat the oven to 120 degrees Celsius.
  2. Trim off any meat still attached to the fat - we only want the fat. A little bit of meat left on the fat is harmless as it will drop out during the rendering process, however it will change the flavour.
  3. Cut your lard or tallow into small pieces (approximately 1 inch cubes) and place into your oven dish.
  4. Pour the water into the oven dish, this will reduce the lard or tallow from burning on the edges and the water will evaporate during the process.
  5. Place the oven dish inside and cover with a lid.
  6. Render for approximately 2 – 2 ½ hours whilst attending to it by stirring occasionally with a steel spoon. The fat cubes will gradually release its fat in liquid form whilst becoming crisp and shriveled. If you notice that the water has not yet evaporated, you can increase the temperature to 165 degrees Celsius and keep it uncovered for ten minutes.
  7. Remove from the heat and allow to cool a little before filtering through a stainless steel strainer. Discard the fat and pour the lard into heat tempered glass jars like the ball mason wide mouthed jars - see link for supplies below. Be careful not to pour into regular glass jars to avoid the risk of breakage.
Option 3: Slow Cooker
  1. Trim off any meat still attached to the fat - we only want the fat. A little bit of meat left on the fat is harmless as it will drop out during the rendering process, however it will change the flavour.
  2. Chop your fat into tiny small pieces. Alternatively you can mince the fat in a food processor or thermomix, however it is important to note that your fat will need to be frozen before you mince it or it will result in a slimy mess and clog the blades.
  3. Place the fat into your slow cooker. Turn it onto the lowest temperature and cook for 3 - 4 hours.
  4. Cooking times will vary depending on temperature, volume and size of the fat pieces but a general rule is to cook until you have small browned cracklings in a bath of clear fat.
  5. Remove from the heat and allow to cool a little before filtering through a stainless steel strainer. Discard the fat and pour the lard into heat tempered glass jars like the ball mason wide mouthed jars - see link for supplies below. Be careful not to pour into regular glass jars to avoid the risk of breakage.
Recipe Notes

Storage: Store in Ball mason wide mouthed freezer safe jars.  These are heat tempered and will not crack when you pour the lard into them.

Ghee (clarified butter)

  It’s hard to improve on butter, but… Ghee, a traditional Indian preparation, eliminates the milk solids and gives you just the pure, unadulterated butterfat. It’s gheelicious. And it doesn’t burn, so it is a perfect choice for high temperature frying. Before introducing butter on the GAPS diet, the introduction stages advises to introduce ghee […]

Print Recipe
Ghee (clarified butter)
This recipe is appropriate for stage two of the GAPS Introduction Diet and onwards
Votes: 0
Rating: 0
You:
Rate this recipe!
Prep Time 15 mins
Cook Time 1 hour
Servings
tub
Ingredients
Prep Time 15 mins
Cook Time 1 hour
Servings
tub
Ingredients
Votes: 0
Rating: 0
You:
Rate this recipe!
Instructions
Option one
  1. Preheat your oven to approximately 60 – 120 Degrees Celsius.
  2. Add a large block of unsalted organic butter to a glass or stainless steel oven dish and leave it in the oven for 45 – 60 minutes.
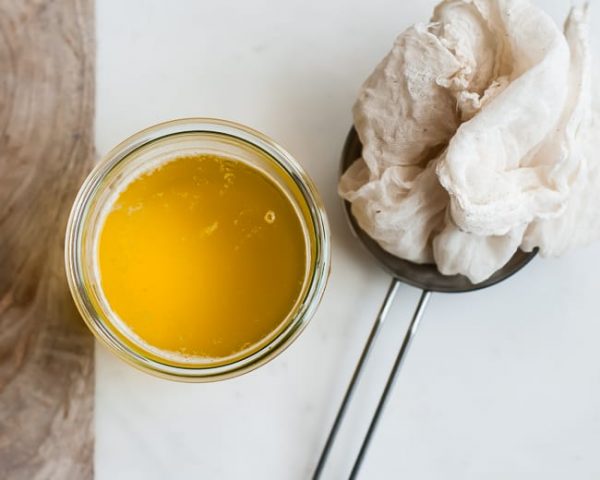
  3. The liquid in the dish will separate with milk solids on the bottom (liquid creamy white colour), ghee in the middle (yellow) with some floaty bits of whey on top (crusty yellow and golden brown floaty bits). The whey can be carefully scooped out from the top with a tea strainer and the yellow liquid which is the ghee can be carefully poured into a jar with a cheese cloth on top to catch any whey or unwanted milk solids. Try not to disrupt the milk solids and ensure that they remain in the bottom of the pan as you pour out the ghee.
  4. Discard the milk solids and refrigerate the ghee in glass jars.
Option two
  1. Melt the unsalted butter in a saucepan over low heat. Don't stir.
  2. Reduce heat and let the melted butter simmer for an hour or until a firm "foam" forms on the surface.
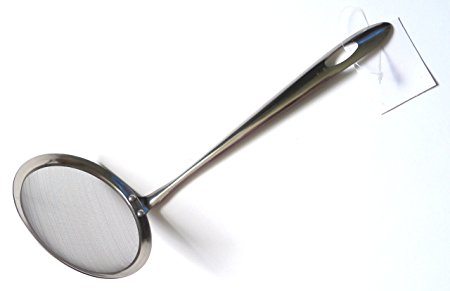
  3. Remove the foam with a flat head stainless steel seive straining spoon (see image). On the bottom, you'll now see white milk protein, which you want to leave behind in the pan or filter out of your ghee.
  4. Carefully pour the clarified butter through a cheese cloth. The white milk protein should remain in the cloth, while the clear butterfat seeps through.
  5. Repeat the filtering a couple of times for optimal results.
  6. Let the ghee cool in a glass jar and store at room temperature.
Recipe Notes

Other Options: You can use your slow cooker to make ghee. Put the butter in it and turn on low heat for 6-8 hours. Then follow the steps above.