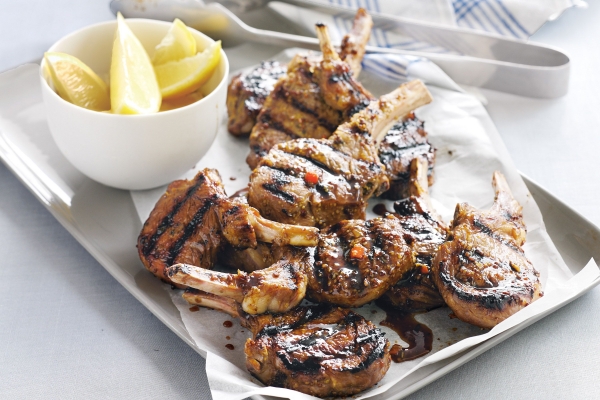
Grilled Meats: Lamb Cutlets

The GAPS Introduction Diet introduces roast meats and grilling in stage 4.  The first three stages of the GAPS Diet requires easy to digest foods and that is why the meats are soft and slow cooked in casseroles and soups.  When the digestion system shows signs of improvement, people following the GAPS Introduction Diet can […]
Print Recipe
Grilled Meats: Lamb Cutlets
This recipe is appropriate for the Introduction Diet from stage 4 onward
Votes: 0
Rating: 0
You:
Rate this recipe!
Prep Time 10 Minutes
Cook Time 10 Minutes
Servings
People
Ingredients
Meat
Vegetables
Meat Stock and Fats
Prep Time 10 Minutes
Cook Time 10 Minutes
Servings
People
Ingredients
Meat
Vegetables
Meat Stock and Fats
Votes: 0
Rating: 0
You:
Rate this recipe!
Instructions
  1. Grill your lamb cutlets on a pre-heated BBQ grill, fry pan or under the grill in the oven on medium to high.
  2. If cooking on a BBQ grill, cook the lamb for 3-4 minutes each side or until cooked to your liking. Cooking under the oven grill or fry pan may require different time frames so you will need to estimate a time for this based on how they cook on the inside. Try not to over cook them and test by cutting a small piece with a knife. A slight pink colour inside is perfect.
  3. Boil and cook remaining chosen vegetables in a pot with stock until well cooked.
  4. Drizzle olive oil (1-2 tablespoons) over your ready served vegetables.
  5. Serve with a cup of homemade meat stock and some lemon wedges on the side.
Recipe Notes

Clinical Notes

When digestion has improved over time, you can add chili or other garnished herbs to the cutlets for added flavour.

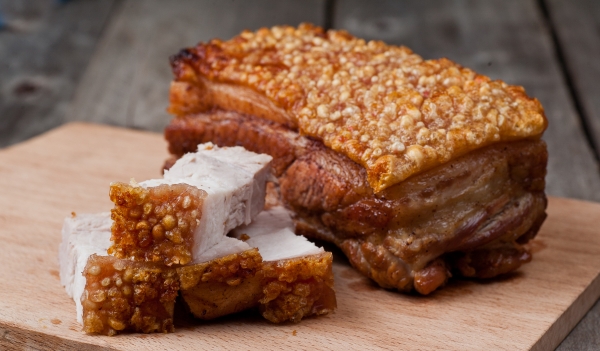
Roast Pork Belly

This meal is a delicious and nutritious favourite in our home.  It can be added in stage four when roasts and grilling is added to the GAPS Introduction Diet. It is very important for a GAPS person to have plenty of natural fats in every meal from meats, butter, ghee, coconut and cold pressed olive […]

Print Recipe
Rost Pork Belly
This recipe is appropriate for the GAPS Introduction Diet from stage 4 onward.
Votes: 0
Rating: 0
You:
Rate this recipe!
Prep Time 10 Minutes
Cook Time 60 Minutes
Passive Time 50 Minutes
Servings
People
Ingredients
Meat and Stock
Fats
Vegetables
Prep Time 10 Minutes
Cook Time 60 Minutes
Passive Time 50 Minutes
Servings
People
Ingredients
Meat and Stock
Fats
Vegetables
Votes: 0
Rating: 0
You:
Rate this recipe!
Instructions
  1. Pre heat oven to 180 – 200 degrees Celsius
  2. Place the pork belly in a baking dish with the rind fat (crackle top) side up.
  3. With your hands, rub lard all over the pork. This is where your hands get messy. Shake a generous amount of salt on the top pork rind and continue to rub and massage more lard and salt until the rind is well covered. Lightly give it one more sprinkle of salt on the top. The salt is what allows the rind to crackle.
  4. Place the pork in the oven at 200 degrees Celsius for 30 minutes to allow the rind to crackle and then turn it down to 180 degrees Celsius and cook for 2 - 2 and a half hours pending in size.
  5. Cut the onions in half and roast them with the punpkin along side the pork.
  6. Cook some other seasonal vegetables in some homemade meat stock for approximately 20 minutes before the pork is finished.
  7. Remove the baking tray with the pork and vegetables from the oven and set them aside on paper towel to soak up excess dripping.
  8. Drain any excess dripping from the baking tray into your dripping tray to store for later use in the fridge.
  9. To make a very tasty gravy leave one tablespoon of dripping, one onion half and one to two pieces of pumpkin remaining in the bottom of the pan that the pork was roasting in and mix with the flat of a fork to make a delicious gravy on the stove at a low heat (you can add pepper to taste).
  10. Strain the cooked vegetables and set aside the meat stock to serve as a hot beverage with your meal.
  11. Serve this delicious pork belly with roasted pumpkin and other seasonal vegetables. Stewed apple can also be eaten with this meal.

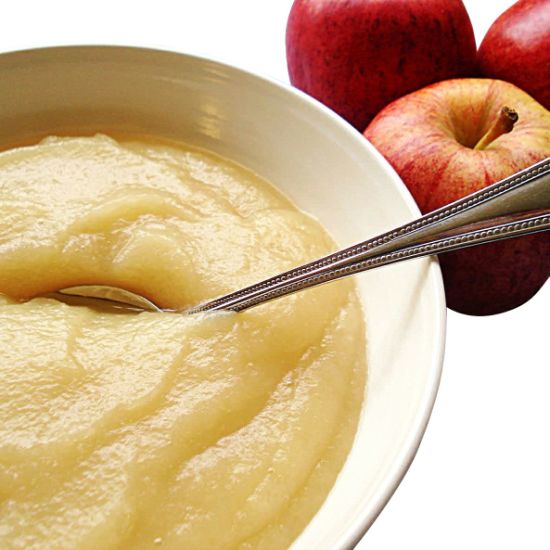
Apple Puree

Apple Pure is introduced in the Introduction Diet on stage 5.  Apple Pure for GAPS is an easy way to disguise fats.  GAPS is a high fat diet so we want to add fats to everything and apple puree is a good way to deliver it. We usually add duck fat, ghee or coconut oil.  […]

Print Recipe
Apple Puree
This recipe is appropriate for the GAPS Introduction Diet from stage 5 onward
Votes: 0
Rating: 0
You:
Rate this recipe!
Prep Time 5-10 Minutes
Cook Time 15-20 Minutes
Servings
People
Ingredients
Fruit
Other
Prep Time 5-10 Minutes
Cook Time 15-20 Minutes
Servings
People
Ingredients
Fruit
Other
Votes: 0
Rating: 0
You:
Rate this recipe!
Instructions
  1. Peel and core the ripe apples and slice thinly into your stainless steel cook pot. An apple slinky is great at doing this job.
  2. Add the water and cook the apples on low whilst stirring occasionally. You may place the lid on top to create steam in the cooking process.
  3. When the apples have become soft, take the pan off the stove and mash with a vegetable masher.
  4. Add a couple of tablespoons of ghee or duck fat or coconut fat (depending on what you have introduced) and blend with the apple.
  5. Store the stewed apples in the fridge.
Recipe Notes

Clinical Notes

Start to introduce with a few spoonful’s  a day and gradually increase the amount if there are no reactions.