Choc Cross Buns

Some people following GAPS in the early stages should avoid sweets all together as honey and cocoa powder can prove to be problematic for people with IBS or chronic diarrhoea. This recipe can be made when all signs of digestion have improved and the patient has been on the GAPS diet for approximately 12 months […]

Print Recipe
Choc cross buns
Votes: 0
Rating: 0
You:
Rate this recipe!
Servings
Ingredients
Equipment
Choc Bun Ingredients
Choc Bun Topping Ingredients
White Chocolate Cross Topping Ingredients
Servings
Ingredients
Equipment
Choc Bun Ingredients
Choc Bun Topping Ingredients
White Chocolate Cross Topping Ingredients
Votes: 0
Rating: 0
You:
Rate this recipe!
Instructions
Cake Mixture Instructions:
  1. Preheat oven at 150◦C
  2. Place pitted dates in a saucepan on the stove with a tablespoon of ghee and heat on a low temperature until they soften. (if you have a thermomix, you can do this for 5-7 minutes).
  3. Place softened date mixture in the blender (or thermomix) and blend dates into a paste. Add remaining ingredients and blend at a high speed until the mixture resembles a chocolate cake mixture. The mixture should hold a firm smooth consistency.
  4. Grease and prepare cupcake tins or use bleach free patty cake papers to pour the mixture into. Cook for 40 – 50 minutes at 150◦C
  5. Test the cake buns with a fork before you take it out of the oven and when ready, remove cakes from the oven and let the cakes cool on a cooling rack. When cooled, take them out of their wrappers or leave them in for character.
Topping Recipe Instructions
  1. Simmer some water on a low heat in a saucepan and place a glass bowl over the simmering water. Add the cacao butter to the glass bowl and melt the cacao butter completely. (CAUTION: Keep the heat at a low temperature so that the steam does not cause any water residue within the glass bowl and make sure all your utensils and materials do not have any water on them because any water contaminating the mixture will cause lumps and clumps and spoil the smooth chocolate result).
  2. Once melted, turn off the heat and add the cocao powder gradually whilst stirring continuously with a bone dry whisk until mixed well with no lumps. Add vanilla seeds, honey and vanilla essence and continue to whisk until smooth.
  3. When the mixture is lovely and smooth it is ready for the choc bun dipping. HINT: It is a good idea to have put the buns in the fridge for a while because the chocolate will harden on the top of the bun faster like ice magic. Simply dip the buns in the chocolate and place on a tray with baking paper and place in the fridge for 15 minutes. Any leftover chocolate can be poured into chocolate molds to make chocolate treats.
White Chocolate Cross Topping Instructions
  1. Simmer some water on a low heat in a saucepan and place a glass bowl over the simmering water. Add the cacao butter to the glass bowl and melt the cacao butter completely. (CAUTION: Keep the heat at a low temperature so that the steam does not cause any water residue within the glass bowl and make sure all your utensils and materials do not have any water on them because any water contaminating the mixture will cause lumps and clumps and spoil the smooth chocolate result).
  2. Once melted, turn off the heat and add the coconut flour and honey gradually whilst stirring continuously with a bone dry whisk until mixed well with no lumps. Add vanilla extract and continue to whisk vigorously whilst you gradually and slowly add the coconut oil.
  3. Use a syringe to dispense the cross on the buns and refrigerate for the cross to harden. Make sure to work quickly or keep mixing in between batches to ensure the oil does not start to separate in the mixture.
  4. Any left over white chocolate can be poured into chocolate molds to make chocolate treats.
Apple & Black Elderberry Muffin Crumble Tops

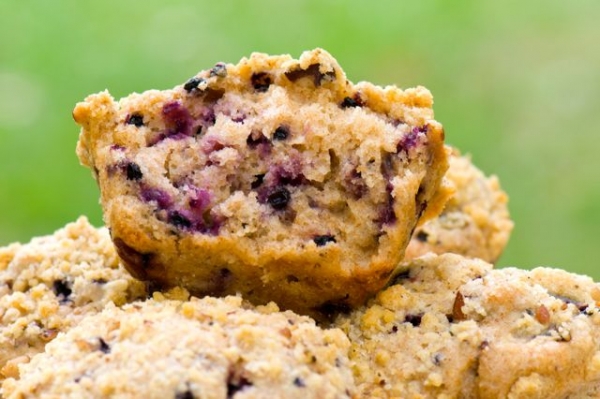
This is a great Breakfast muffin or snack for morning tea. This recipe contains Black Elderberries so it is filled with beneficial immune properties well known to support GAPS conditions. Black Elderberry bushes have been found in many parts of the world and grow very well as a native bush right here in Australia. The […]

Print Recipe
Apple & Black Elderberry Muffin Crumble Tops
These delicious treats are suitable from Stage 6 on wards.
Votes: 0
Rating: 0
You:
Rate this recipe!
Prep Time 20 Minutes
Cook Time 25-30 Minutes
Servings
Muffins
Ingredients
Mini Muffin Ingredients
Topping
Prep Time 20 Minutes
Cook Time 25-30 Minutes
Servings
Muffins
Ingredients
Mini Muffin Ingredients
Topping
Votes: 0
Rating: 0
You:
Rate this recipe!
Instructions
  1. Peal and cut 4-5 apples into squares and stew them with a tablespoon of water. When cooked remove half a cup of the stewed apples to make the apple crumble topping. (put the remaining stewed apples aside).
  2. Add the half a cup of stewed apple squares to the remaining crumble mixture and mix together and set aside.
  3. Preheat oven to 150 degrees Celsius
  4. With the remaining stewed apple (which will be approximately 1 - 1.5 cups of stewed apples) mash and mix until the apple mixtures is a smooth pure texture.
  5. In a new bowl, add the almond flour, eggs, apple pure, honey, coconut oil and vanilla extract and mix with a hand held electric beater or thermomix. When well combined, add the bicarbonate of soda and lemon juice and mix again for a further 20 seconds or so. This will aid as a raising agent.
  6. Add the elderberries to the cake mixture and stir them in with a wooden spoon.
  7. Pour the mixture into muffin papers placed into a muffin tin.
  8. When the mixture is settled in the muffin papers, add the prepared topping ingredients on top and place into the preheated oven.
  9. Muffins will take approximately 25-30 minutes to cook. Keep an eye on them as almond flour is easy to burn (Don’t cook them in too high temperatures).
  10. Remove from the oven when cooked and allow to cool on a cooling tray. Serve with yoghurt, kefir or sourcream
Recipe Notes

Clinical Notes As with all stages of the GAPS diet, baked goods should only make up a small percentage of the diet and that the focus should be on healing nourishing foods, broths and juices.

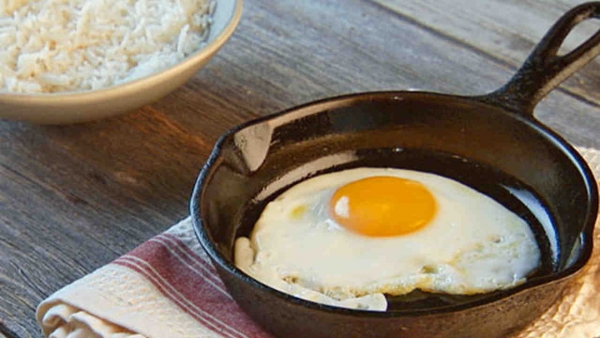
Fried Egg

How do you like your eggs? The GAPS Introduction Diet introduces soft boiled eggs first in stage two followed by scrambled or fried in stage 3. Relatively simple this recipe can be adjusted to suit the individual in terms of sunny side up and sunny side down, however the important thing to remember is to […]

Print Recipe
Fried Egg
This recipe is appropriate for the Introduction Diet from stage 3 onward.
Votes: 0
Rating: 0
You:
Rate this recipe!
Servings
Ingredients
Servings
Ingredients
Votes: 0
Rating: 0
You:
Rate this recipe!
Instructions
  1. Add the ghee to the fry pan and set on medium heat. Do not allow the ghee to burn
  2. I recommend cracking the egg into a small bowl first, and then pouring that gently into the pan. Make sure to pour slowly, letting the whites find their placement for 1 or 2 seconds before letting the yolk slip into the middle of the pan. Of course, you’re welcome to just crack and pour the egg directly into the pan.
  3. Cook the egg until the whites are cooked and the egg yolk is still runny. That is an official GAPS egg. We want the yolks to be runny to maximise the nutrition from the egg. You can flip the egg if you wish to have a sunny side down, however be careful not to over cook the yolk. Sunny side up will allow you to monitor the cooking of the yolk much better.

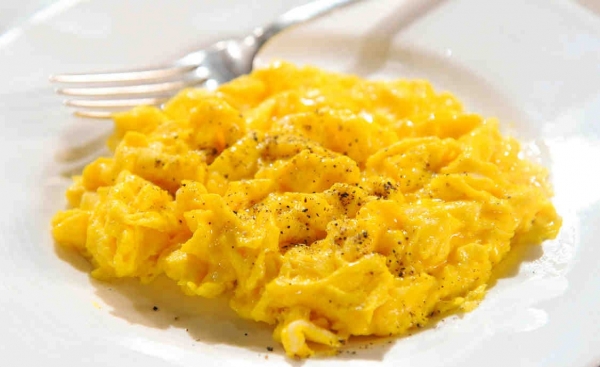
Scrambled Eggs

The GAPS Introduction Diet introduces scrambled eggs or fried eggs in stage three.  This is a simple and very quick recipe requiring very little preparation.  The ingredients contain only egg with a little ghee for cooking, however for more fluffier eggs, you can add a couple of tablespoons of sour cream or kefir. Print Recipe […]

Print Recipe
Scrambled Eggs
This recipe is appropriate for the GAPS Introductions Diet from stage 3 onward
Votes: 1
Rating: 4
You:
Rate this recipe!
Prep Time 2 minutes
Cook Time 3 minutes
Servings
people
Ingredients
Prep Time 2 minutes
Cook Time 3 minutes
Servings
people
Ingredients
Votes: 1
Rating: 4
You:
Rate this recipe!
Instructions
  1. Crack the eggs into a glass bowl
  2. Use a fork to beat eggs together.
  3. Melt ghee or duck fat in a fripan over low heat. Don't allow the ghee to burn.
  4. Add egg mixture and gently pull eggs to the center of the pan and let the liquid parts run out under the perimeter.
  5. Cook, continually moving eggs with the metal spatula, just until eggs are set. This will take approximately 1 to 3 minutes.
  6. Season with salt and pepper; serve hot with a little parsley.
Recipe Notes

Clinical Notes

When on the Full GAPS Diet, if digestion has improved you may introduce onion and celery to the mixture as well.

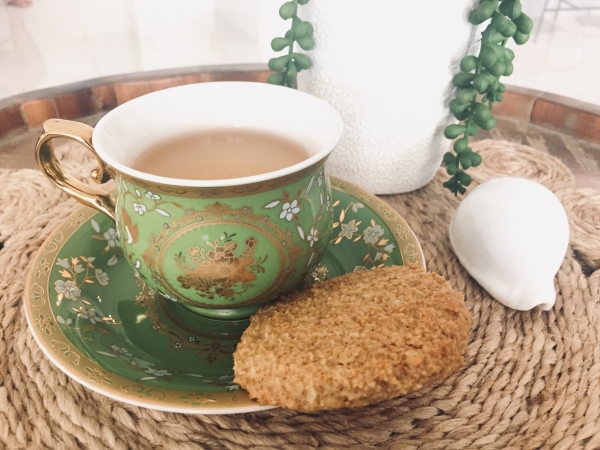
GAPS Ginger Cookies

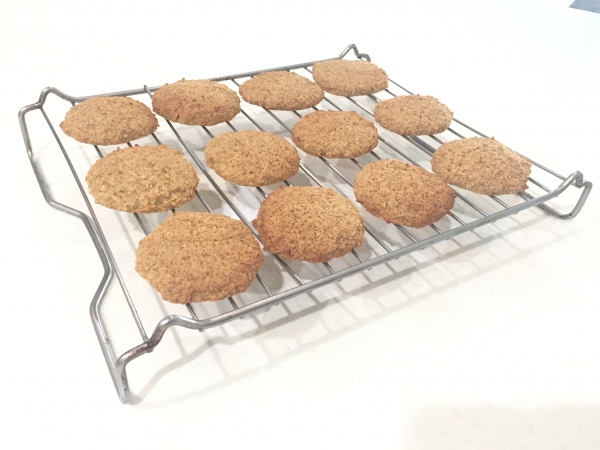
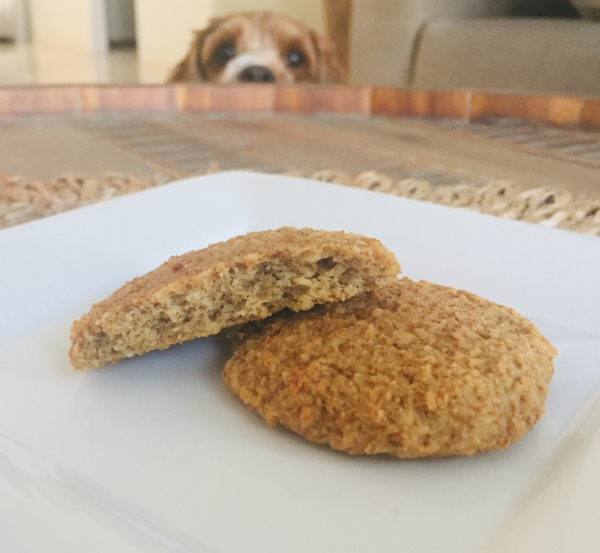
These cookies are not your usual ginger snaps because they are light and airy to bite into.  They are great on their own for a snack but make for the perfect combo with a cup of GAPS Ginger Tea.  If you had your heart set on a crispy cookie that looks just like the one […]

Print Recipe
GAPS Ginger Cookies
This recipe is appropriate for people who have reached stage 6 of the Introduction Diet and the Full GAPS Diet
Votes: 1
Rating: 5
You:
Rate this recipe!
Prep Time 15 Minutes
Cook Time 15 Minutes
Passive Time 7 Hours
Servings
Cookies
Ingredients
Prep Time 15 Minutes
Cook Time 15 Minutes
Passive Time 7 Hours
Servings
Cookies
Ingredients
Votes: 1
Rating: 5
You:
Rate this recipe!
Instructions
Preparation
  1. Preheat oven to 150˚C and prepare one large or two medium stainless steel trays by lining them with (bleach free) baking paper.
Mixing and Baking the Cookies
  1. Add all the ingredients into a bowl (except for the desiccated coconut and bicarbonate of soda).
  2. Mix the mixture with electric beaters or other mixer/thermomix. I used electric hand held beaters for this recipe.
  3. When well combined, add the desiccated coconut and add the bicarbonate of soda last.
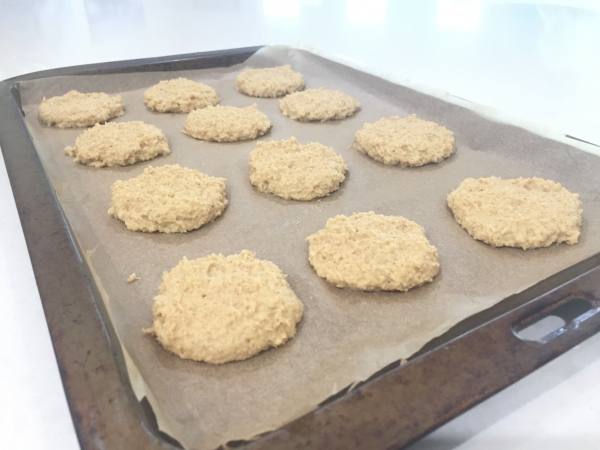
  4. Spoon a tablespoon of mixture neatly onto the prepared lined baking trays and pat gently with the flat of one finger so that the mixture resembles a rounded semi-flat shape.
  5. Place the baking tray into the preheated oven and bake for 15 minutes. Do not be tempted to cook longer than this as the cookies will burn. If your oven tends to cook quickly, you may want to remove them sooner. The edges and tops should be browned but not burnt.
  6. Once removed from the oven, carefully slide the liner off the tray and onto a cooling tray with the cookies still in place. Let them cool this way for ten minutes to allow the cookies to cool. DO NOT try to pick them up as they will be soft and fall apart.
  7. When they are cool to touch and are becoming more solid, remove the paper lining under the cookies so that the bottoms don’t sweat. Allow the cookies to cool for a further 20 – 30 minutes on the cooling tray.
  8. The cookies will be light, airy and soft to eat. If you like them like this, you may store them in an air tight container. They will be soft to eat similar to a cake like consistency. They can be kept fresh for a week
Recipe Notes

The Excalibur food dehydrator is the best on the market.  I have had mine for ten years and it is still going strong. We have a few Excalibur Dehydrator options available at GAPS Diet Australia based on affordability and specification.  If you do purchase one, I highly recommend the one with a timer.  This helps greatly when dehydrating food on an ongoing basis.

View and listen to the cookie crunch video here